


How to Install git on Windows
Hai semuanya, sebelum kita hand-on menggunakan Git SCM di Windows 10/11 ada beberapa hal yang perlu kita siapkan. Diantaranya
- Install Git SCM
- Setup Terminal / Powershell
- Git initialization config
Ok tanpa berlama-lama. langsung aja kita bahas materi yang pertama:
Installing Git SCM
There are several options for installing Git on Windows:
- Package manager, such as (chocolaty, winget, etc)
- Binary installer
Untuk saya sendiri meng-install git menggunakan Binary installer. Pertama kita download dulu di official Git website. Untuk step-stepnya sama halnya dengan installasi software di Windows seperti berikut:
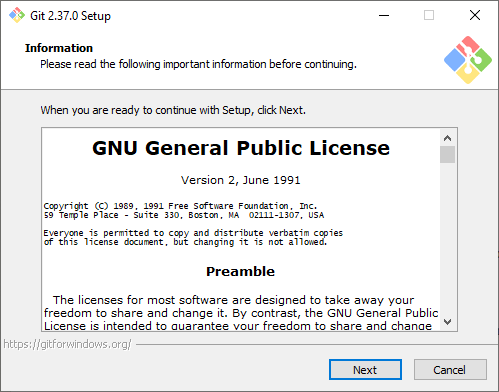
Kita double klik installer Git-version.exe maka akan muncul welcome-page seperti berikut:
Kemudian klik Next, maka muncul select directory untuk install git seperti berikut:
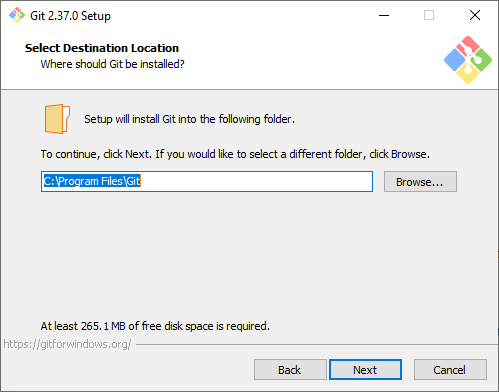
Kalau saya biarkan default, kemudian Next. Maka akan muncul component yang akan di install seperti berikut:
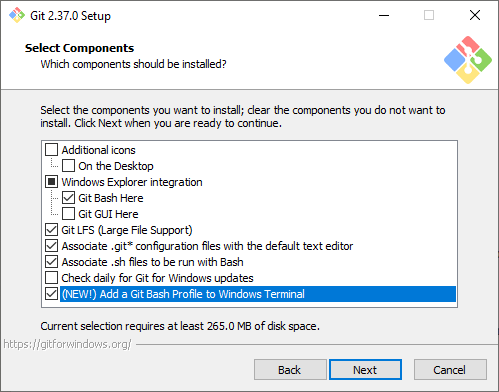
Untuk component yang saya pilih adalah minimal saja seperti Git Bash Here, Gitl LSF, Associate git files dan Add a git path to Windows Terminal. Setelah itu kita Next maka akan muncul dialog Start menu seperti berikut:
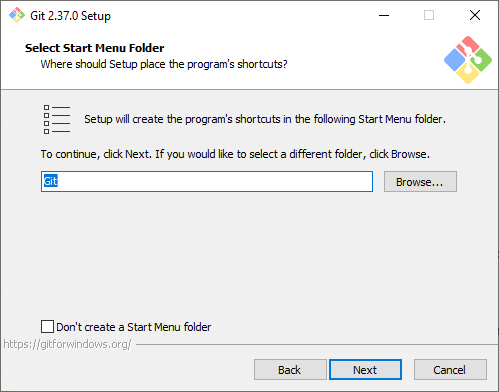
Biarkan default saja, kemudian kita Next maka akan muncul dialog Default text editor seperti berikut:
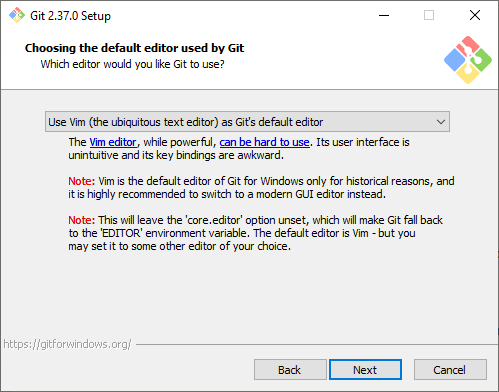
Untuk editor default git yang saya pilih adalah Vim, klo temen-temen terbiasa dengan editor lainnya boleh pilih yang lainnya seperti nodepad, nano ataupun lainnya, Selanjutnya Next akan muncul dialog default branch name seperti berikut:
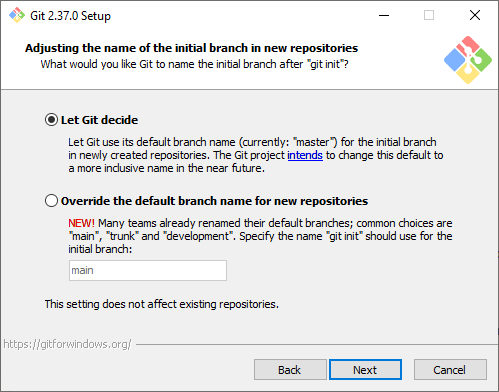
Untuk default branch name, saya biarkan default saja kemudian Next maka akan muncul dialog path env pada windows system seperti berikut:
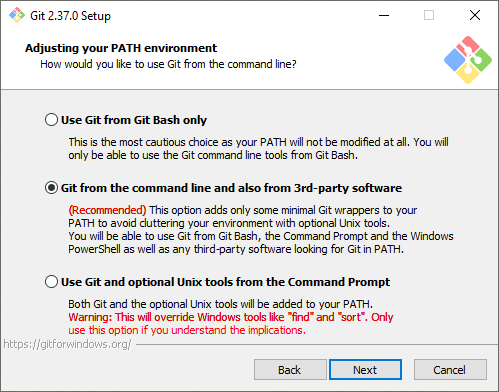
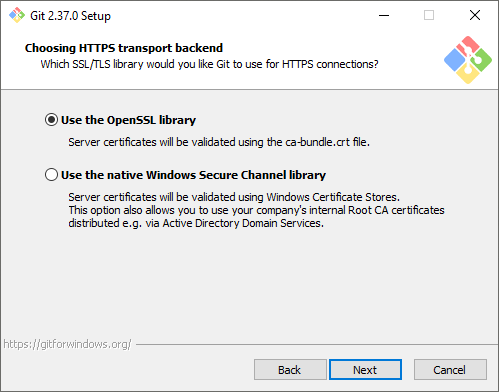
pada dialog ini saya menggunakan recommendation dari git atau biarkan saja default kemudian klick Next maka akan muncul dialog SSH Connection settings seperti berikut:
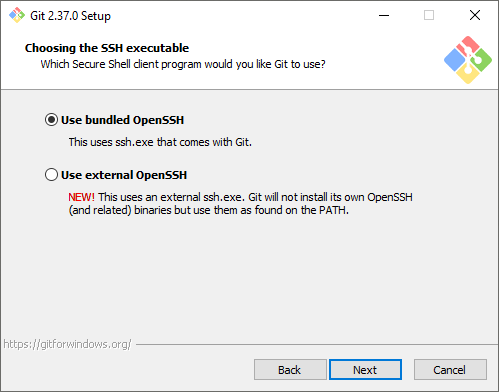
Karena disini saya belum menginstall ssh, kita biarkan menggukan SSH bundle saja kemudian klick Next maka selanjutnya akan muncul dialog openssh setting seperti berikut:
Biarkan default saja kemudian kita Next maka selanjutnya akan muncul dialog Commit style seperti berikut:
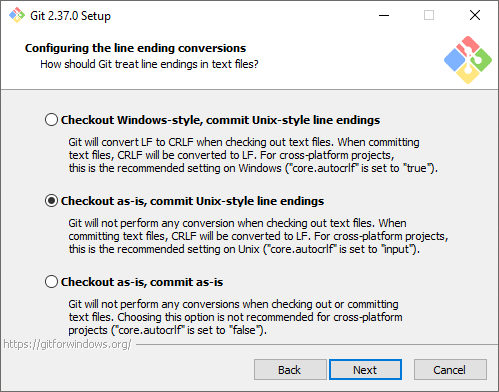
Untuk commit style yang perlu diperhatikan adalah bagaimana nantinya temen-temen menggunakan git tersebut apakah menggunakan Powershell style atau unix style klo saya sendiri lebih sering menggunakan unix style jadi saya pilih checkout as-is, convert to unix-style ending selanjutnya Next maka muncul dialog Emulator seperti berikut:
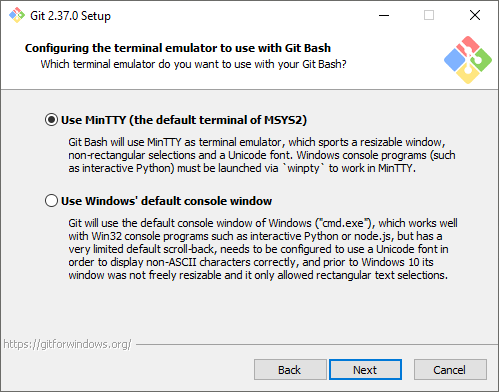
Biarkan default saja, selanjutnya Next maka akan muncul dialog Default Pull Policy seperti berikut:
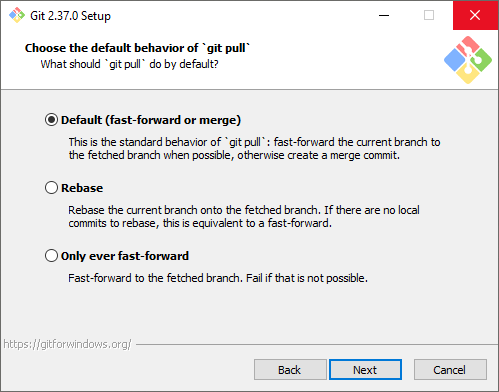
Biarkan default saja, selanjutnya Next maka akan muncul dialog Credential Manager seperti berikut:
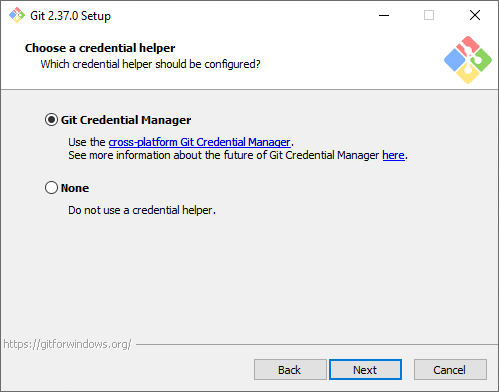
Biarkan default saja, selanjutnya Next maka akan muncul dialog Extra Config seperti berikut:
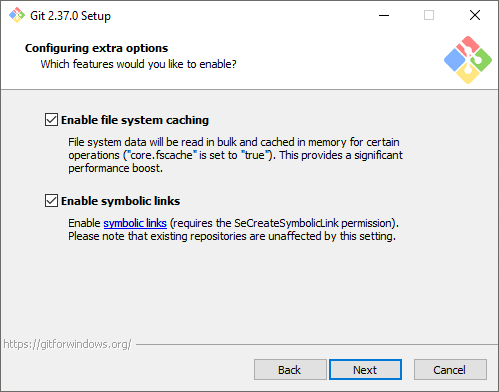
Biarkan default, selanjutnya Next dan yang terakhir akan muncul dialog Experiment Feature seperti berikut:
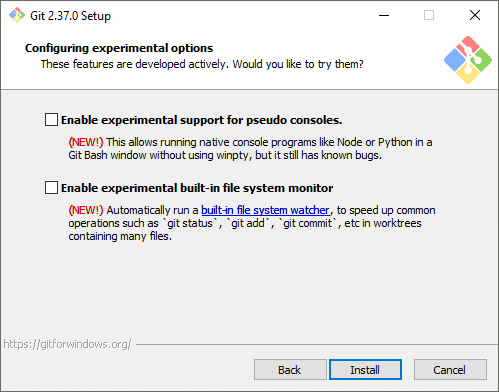
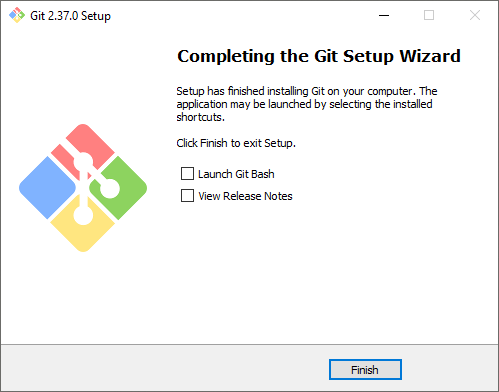
Saya saat ini tidak membutuhkan feature tersebut jadi saya gak checklist and Install jika sudah selesai hasilnya seperti berikut:
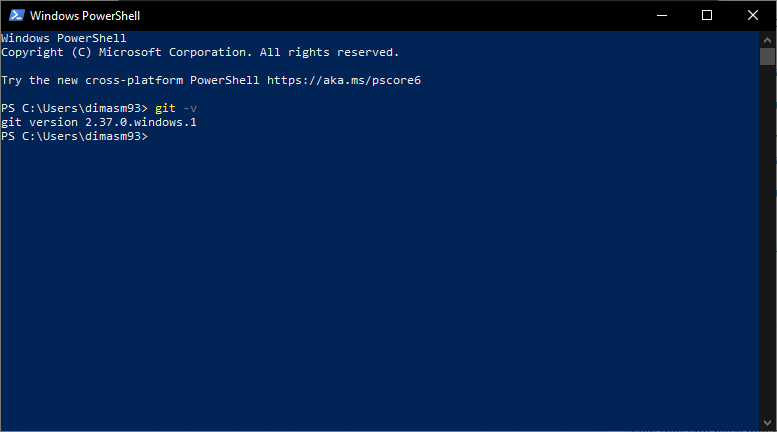
Sekarang kita bisa check menggunakan Windows terminal atau powershell apakah gitnya sudah terdeteksi pada system dengan perintah
git -vMaka hasilnya seperti berikut:
Setup Terminal / Powershell
Setelah kita menginstall Git di local machine kita, sebelum kita menggunakan Git kita akan setup dulu commandline / terminal supaya lebih nyaman dan menyenangkan menggunakannya. Adapun yang perlu kita lakukan adalah:
- Setup terminal application
- Setup oh-my-posh
Ok, untuk terminal di Windows operation system terdiri dari cmd, dan Powershell. Temen-temen boleh bebas pilih kalau saya sendiri lebih sering menggunakan Powershell karena secara perintah lebih mirip UNIX dibandingkan cmd yang pure perintah windows. Untuk Powershell editor sendiri saya biasanya menggunakan Windows Terminal
By default Windows Terminal build-in with Windows 11 but in Windows 10 or above you can download from Windows Store. look like:
Windows Terminal is a new, modern, feature-rich, productive terminal application for command-line users. It includes many of the features most frequently requested by the Windows command-line community including support for tabs, rich text, globalization, configurability, theming & styling, and more.
Sebelum kita setup Windows Terminalnya, kita perlu aktifkan dulu developer mode dan execute any command from powershell seperti berikut:

Buka Powershell as Adminstrator, jalankan perintah berikut:
Set-ExecutionPolicy RemoteSigned | `
Set-ExecutionPolicy Restricted
Kemudian restart, setelah restart buka kembali Powershell as normal user, kita akan memasang plugin dan theme tersebut dengan perintah seperti berikut:
# install git plugin
Install-Module posh-git -Scope CurrentUser

# install oh-my-posh
Set-ExecutionPolicy Bypass -Scope Process -Force; Invoke-Expression ((New-Object System.Net.WebClient).DownloadString('https://ohmyposh.dev/install.ps1'))
Setelah itu kita include ke profile dengan menjalankan perintah notepad $profile kemudian masukan script berikut ke notepad:
Import-Module posh-git
oh-my-posh init pwsh --config $env:POSH_THEMES_PATH\robbyrussel.omp.json | Invoke-Expression
Maka hasil looknya sekarang seperti berikut:
Git initialization config
Setelah kita setup terminal / commandline tools untuk berinteraksi dengan Git, Sebelum mulai ada beberapa hal yang perlu kita setting/config pada internal git seperti
- Setup your identity (username & email)
- Setup generate ssh key untuk ssh-connection to git repository
Git comes with a tool called git config that lets you get and set configuration variables that control all aspects of how Git looks and operates. These variables can be stored in three different places:
[path]/etc/gitconfig,~/.gitconfigor~/.config/git/configfileconfigfile in the Git directory (that is,.git/config)
On Windows systems, Git looks for the .gitconfig file in the $HOME directory (C:\Users\$USER for most people). It also still looks for [path]/etc/gitconfig, although it’s relative to the MSys root, which is wherever you decide to install Git on your Windows system when you run the installer. If you are using version 2.x or later of Git for Windows, there is also a system-level config file at C:\Documents and Settings\All Users\Application Data\Git\config on Windows XP, and in C:\ProgramData\Git\config on Windows Vista and newer. This config file can only be changed by git config -f <file> as an admin.
# set your username & email
git config --global user.name "dimasm93"
git config --global user.email "software.dimas_m@icloud.com"

# check all config
git config --list
Dan kemudian yang terakhir, kita akan setup untuk generate ssh key jika kita mau menggunakan ssh connection ke git repository seperti GitHub, Gitlab, Bitbucket atau hosted repository lainnya dengan cara seperti berikut:
ssh-keygen -t ed25519 -C "your_email@example.com"This creates a new SSH key, using the provided email as a label.
- When you’re prompted to “Enter a file in which to save the key,” press Enter. This accepts the default file location.
- At the prompt, type a secure passphrase.
- Adding your SSH key to the ssh-agent (using Git Bash program)
eval "$(ssh-agent -s)"
- Add your SSH private key to the ssh-agent and store your passphrase in the keychain.
ssh-add ~/.ssh/id_ed25519
And finaly you can add public key to git repository, But i will do it later on next capter.