


Install minikube on Mac (Intel Chip)
Hai semuanya, di materi kali ini kita akan membahas membuat kubernetes cluster di local/learning environment menggunakan minikube di Mac OS (Intel Based)
- What you’ll need?
- Installing Container or virtual machine as backend minikube
- Installing minikube, kubernetes client
- Create cluster using Virtualbox driver (Deprecated)
- Create cluster using Docker driver
- Create cluster using hyperkit driver
Ok langsung aja kita bahas ke materi yang pertama
What you’ll need?
Untuk menginstall minikube di Mac OS kita membutuhkan:
2 CPUsor more2GBof free memory20GBof free disk space- Internet connection
- Container or virtual machine manager, such as: Docker, Parallels, Podman, VirtualBox, or VMware Fusion
Klo saya sendiri disini masih menggunakan Macbook Pro 13” four thunderbold 2017 dengan specification seperti berikut:

Untuk Mac yang menggunakan architecture intel kita bisa menggunakan beberapa driver yaitu
- Docker / Podman
- Virtualbox (Deprecated)
- VMware fusion
- Parallels
- Hyperkit
Untuk proses installasi docker di mac sudah pernah saya bahas di artikel berikut
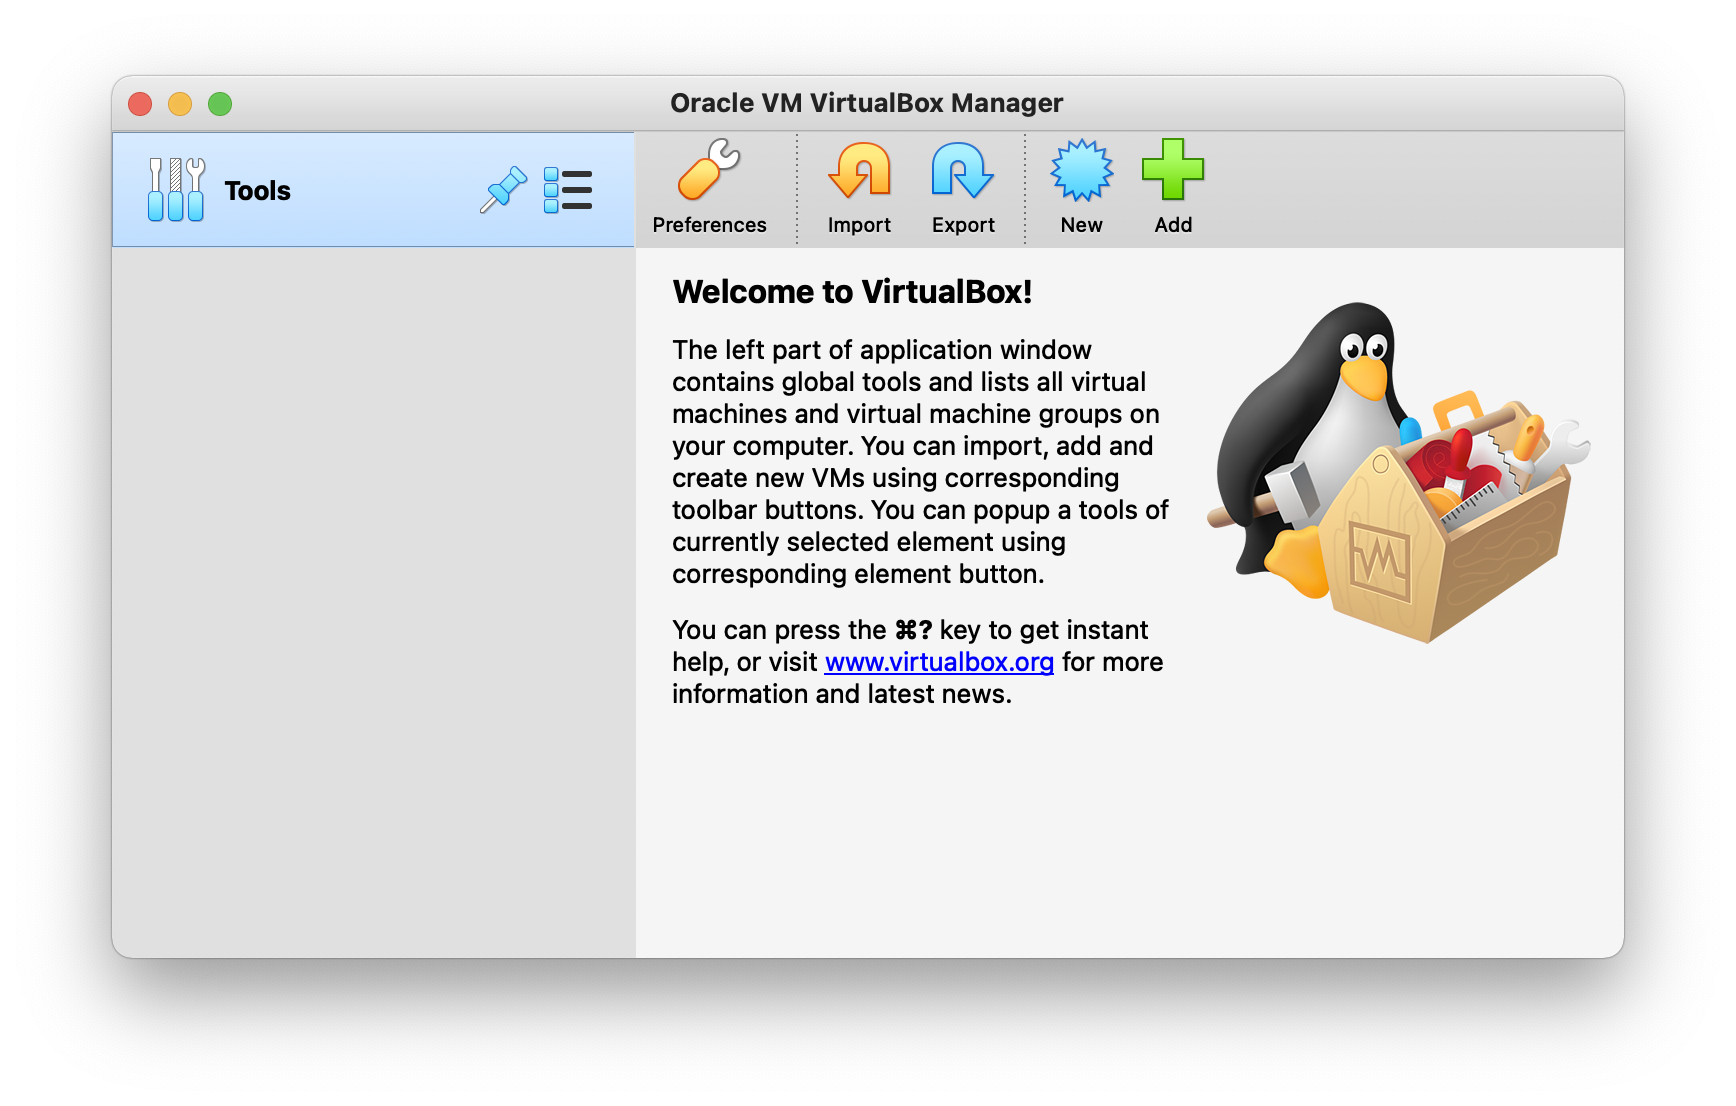
Untuk proses installasi Virtualbox, simple kita tinggal download file dmg pada official websitenya Oracle Virtualbox disini kemudian kita tinggal Open and drag VirtualBox ke folder Application.
Jika sudah terinstall maka tampilannya seperti berikut:
Installing minikube binary
Untuk install minikube juga kita bisa menggunakan beberapa cara yaitu
- binary download
- homebrew
Klo saya lebih suka menggunakan package manager homebrew, jadi pertama buat temen-temen yang belum install homebrew bisa install dulu jika sudah kita lanjutkan dengan perintah berikut:
brew install minikubeIf which minikube fails after installation via brew, you may have to remove the old minikube links and link the newly installed binary:
brew unlink minikube
brew link minikube
Jika sudah success, coba check di terminal dengan perintah seperti berikut:
minikube versionHasilnya seperti berikut:
➜  ~ minikube version
minikube version: v1.24.0
commit: 76b94fb3c4e8ac5062daf70d60cf03ddcc0a741b
Installing kubernetes client
You must use a kubectl version that is within one minor version difference of your cluster. For example, a v1.23 client can communicate with v1.22, v1.23, and v1.24 control planes. Using the latest compatible version of kubectl helps avoid unforeseen issues.
Untuk install kubernetes client / kubectl kita bisa menggunakan beberapa cara yaitu
- binary download
- homebrew
Sama seperti sebelumnya kita bisa install menggunakan perintah berikut:
brew install kubernetes-cli kustomizejika dijalankan maka hasilnya seperti berikut:
➜  ~ kubectl version --client
Client Version: version.Info{Major:"1", Minor:"23", GitVersion:"v1.23.1", GitCommit:"86ec240af8cbd1b60bcc4c03c20da9b98005b92e", GitTreeState:"clean", BuildDate:"2021-12-16T11:33:37Z", GoVersion:"go1.17.5", Compiler:"gc", Platform:"darwin/amd64"}
Create cluster using Virtualbox driver (Deprecated)
Setelah kita menginstall tools untuk belajar kubernetes seperti virtualbox atau docker sebagai kubernetes runtime serta minikube ,kubectl dan kustomize. Sekarang kita akan membuat single kubernetes cluster dengan minikube menggunakan driver virtualbox.
Untuk membuat kita bisa menggunakan perintah minikube start untuk lebih jelasnya kita bisa lihat dokumentasinya seperti berikut:
minikube start -hJika dijalankan hasilnya seperti berikut:
➜  ~ minikube start -h
Starts a local Kubernetes cluster

Options:
      --addons=[]: Enable addons. see `minikube addons list` for a list of valid
addon names.
      --apiserver-ips=[]: A set of apiserver IP Addresses which are used in the
generated certificate for kubernetes.  This can be used if you want to make the
apiserver available from outside the machine
      --apiserver-name='minikubeCA': The authoritative apiserver hostname for
apiserver certificates and connectivity. This can be used if you want to make
the apiserver available from outside the machine
      --apiserver-names=[]: A set of apiserver names which are used in the
generated certificate for kubernetes.  This can be used if you want to make the
apiserver available from outside the machine
      --apiserver-port=8443: The apiserver listening port
      --auto-update-drivers=true: If set, automatically updates drivers to the
latest version. Defaults to true.

--base-image='gcr.io/k8s-minikube/kicbase:v0.0.29@sha256:be897edc9ed473a9678010f390a0092f488f6a1c30865f571c3b6388f9f56f9b':
The base image to use for docker/podman drivers. Intended for local development.
      --binary-mirror='': Location to fetch kubectl, kubelet, & kubeadm binaries
from.
      --cache-images=true: If true, cache docker images for the current
bootstrapper and load them into the machine. Always false with --driver=none.
      --cert-expiration=26280h0m0s: Duration until minikube certificate
expiration, defaults to three years (26280h).
      --cni='': CNI plug-in to use. Valid options: auto, bridge, calico, cilium,
flannel, kindnet, or path to a CNI manifest (default: auto)
      --container-runtime='docker': The container runtime to be used (docker,
cri-o, containerd).
      --cpus='2': Number of CPUs allocated to Kubernetes. Use "max" to use the
maximum number of CPUs.
      --cri-socket='': The cri socket path to be used.
      --delete-on-failure=false: If set, delete the current cluster if start
fails and try again. Defaults to false.
      --disable-driver-mounts=false: Disables the filesystem mounts provided by
the hypervisors
      --disk-size='20000mb': Disk size allocated to the minikube VM (format:
<number>[<unit>], where unit = b, k, m or g).
      --dns-domain='cluster.local': The cluster dns domain name used in the
Kubernetes cluster
      --dns-proxy=false: Enable proxy for NAT DNS requests (virtualbox driver
only)
      --docker-env=[]: Environment variables to pass to the Docker daemon.
(format: key=value)
      --docker-opt=[]: Specify arbitrary flags to pass to the Docker daemon.
(format: key=value)
      --download-only=false: If true, only download and cache files for later
use - don''t install or start anything.
      --driver='': Driver is one of: virtualbox, parallels, vmwarefusion,
hyperkit, vmware, docker, podman (experimental), ssh (defaults to auto-detect)
      --dry-run=false: dry-run mode. Validates configuration, but does not
mutate system state
      --embed-certs=false: if true, will embed the certs in kubeconfig.
      --enable-default-cni=false: DEPRECATED: Replaced by --cni=bridge
      --extra-config=: A set of key=value pairs that describe configuration that
may be passed to different components.
		The key should be '.' separated, and the first part before the dot is the
component to apply the configuration to.
		Valid components are: kubelet, kubeadm, apiserver, controller-manager, etcd,
proxy, scheduler
		Valid kubeadm parameters: ignore-preflight-errors, dry-run, kubeconfig,
kubeconfig-dir, node-name, cri-socket, experimental-upload-certs,
certificate-key, rootfs, skip-phases, pod-network-cidr
      --extra-disks=0: Number of extra disks created and attached to the
minikube VM (currently only implemented for hyperkit and kvm2 drivers)
      --feature-gates='': A set of key=value pairs that describe feature gates
for alpha/experimental features.
      --force=false: Force minikube to perform possibly dangerous operations
      --force-systemd=false: If set, force the container runtime to use systemd
as cgroup manager. Defaults to false.
      --host-dns-resolver=true: Enable host resolver for NAT DNS requests
(virtualbox driver only)
      --host-only-cidr='192.168.59.1/24': The CIDR to be used for the minikube
VM (virtualbox driver only)
      --host-only-nic-type='virtio': NIC Type used for host only network. One of
Am79C970A, Am79C973, 82540EM, 82543GC, 82545EM, or virtio (virtualbox driver
only)
      --hyperkit-vpnkit-sock='': Location of the VPNKit socket used for
networking. If empty, disables Hyperkit VPNKitSock, if 'auto' uses Docker for
Mac VPNKit connection, otherwise uses the specified VSock (hyperkit driver only)
      --hyperkit-vsock-ports=[]: List of guest VSock ports that should be
exposed as sockets on the host (hyperkit driver only)
      --hyperv-external-adapter='': External Adapter on which external switch
will be created if no external switch is found. (hyperv driver only)
      --hyperv-use-external-switch=false: Whether to use external switch over
Default Switch if virtual switch not explicitly specified. (hyperv driver only)
      --hyperv-virtual-switch='': The hyperv virtual switch name. Defaults to
first found. (hyperv driver only)
      --image-mirror-country='': Country code of the image mirror to be used.
Leave empty to use the global one. For Chinese mainland users, set it to cn.
      --image-repository='': Alternative image repository to pull docker images
from. This can be used when you have limited access to gcr.io. Set it to "auto"
to let minikube decide one for you. For Chinese mainland users, you may use
local gcr.io mirrors such as registry.cn-hangzhou.aliyuncs.com/google_containers
      --insecure-registry=[]: Insecure Docker registries to pass to the Docker
daemon.  The default service CIDR range will automatically be added.
      --install-addons=true: If set, install addons. Defaults to true.
      --interactive=true: Allow user prompts for more information

--iso-url=[https://storage.googleapis.com/minikube/iso/minikube-v1.25.0.iso, ...]:
Locations to fetch the minikube ISO from.
      --keep-context=false: This will keep the existing kubectl context and will
create a minikube context.
      --kubernetes-version='': The Kubernetes version that the minikube VM will
use (ex: v1.2.3, 'stable' for v1.23.1, 'latest' for v1.23.2-rc.0). Defaults to
'stable'.
      --kvm-gpu=false: Enable experimental NVIDIA GPU support in minikube
      --kvm-hidden=false: Hide the hypervisor signature from the guest in
minikube (kvm2 driver only)
      --kvm-network='default': The KVM default network name. (kvm2 driver only)
      --kvm-numa-count=1: Simulate numa node count in minikube, supported numa
node count range is 1-8 (kvm2 driver only)
      --kvm-qemu-uri='qemu:///system': The KVM QEMU connection URI. (kvm2 driver
only)
      --listen-address='': IP Address to use to expose ports (docker and podman
driver only)
      --memory='': Amount of RAM to allocate to Kubernetes (format:
<number>[<unit>], where unit = b, k, m or g). Use "max" to use the maximum
amount of memory.
      --mount=false: This will start the mount daemon and automatically mount
files into minikube.
      --mount-9p-version='9p2000.L': Specify the 9p version that the mount
should use
      --mount-gid='docker': Default group id used for the mount
      --mount-ip='': Specify the ip that the mount should be setup on
      --mount-msize=262144: The number of bytes to use for 9p packet payload
      --mount-options=[]: Additional mount options, such as cache=fscache
      --mount-port=0: Specify the port that the mount should be setup on, where
0 means any free port.
      --mount-string='/Users:/minikube-host': The argument to pass the minikube
mount command on start.
      --mount-type='9p': Specify the mount filesystem type (supported types: 9p)
      --mount-uid='docker': Default user id used for the mount
      --namespace='default': The named space to activate after start
      --nat-nic-type='virtio': NIC Type used for nat network. One of Am79C970A,
Am79C973, 82540EM, 82543GC, 82545EM, or virtio (virtualbox driver only)
      --native-ssh=true: Use native Golang SSH client (default true). Set to
'false' to use the command line 'ssh' command when accessing the docker machine.
Useful for the machine drivers when they will not start with 'Waiting for SSH'.
      --network='': network to run minikube with. Now it is used by
docker/podman and KVM drivers. If left empty, minikube will create a new
network.
      --network-plugin='': Kubelet network plug-in to use (default: auto)
      --nfs-share=[]: Local folders to share with Guest via NFS mounts (hyperkit
driver only)
      --nfs-shares-root='/nfsshares': Where to root the NFS Shares, defaults to
/nfsshares (hyperkit driver only)
      --no-kubernetes=false: If set, minikube VM/container will start without
starting or configuring Kubernetes. (only works on new clusters)
      --no-vtx-check=false: Disable checking for the availability of hardware
virtualization before the vm is started (virtualbox driver only)
  -n, --nodes=1: The number of nodes to spin up. Defaults to 1.
  -o, --output='text': Format to print stdout in. Options include: [text,json]
      --ports=[]: List of ports that should be exposed (docker and podman driver
only)
      --preload=true: If set, download tarball of preloaded images if available
to improve start time. Defaults to true.
      --registry-mirror=[]: Registry mirrors to pass to the Docker daemon
      --service-cluster-ip-range='10.96.0.0/12': The CIDR to be used for service
cluster IPs.
      --ssh-ip-address='': IP address (ssh driver only)
      --ssh-key='': SSH key (ssh driver only)
      --ssh-port=22: SSH port (ssh driver only)
      --ssh-user='root': SSH user (ssh driver only)
      --trace='': Send trace events. Options include: [gcp]
      --uuid='': Provide VM UUID to restore MAC address (hyperkit driver only)
      --vm=false: Filter to use only VM Drivers
      --vm-driver='': DEPRECATED, use `driver` instead.
      --wait=[apiserver,system_pods]: comma separated list of Kubernetes
components to verify and wait for after starting a cluster. defaults to
"apiserver,system_pods", available options:
"apiserver,system_pods,default_sa,apps_running,node_ready,kubelet" . other
acceptable values are 'all' or 'none', 'true' and 'false'
      --wait-timeout=6m0s: max time to wait per Kubernetes or host to be
healthy.

Usage:
  minikube start [flags] [options]

Use "minikube options" for a list of global command-line options (applies to all
commands).
Secara default jika kita membuat single cluster dengan minikube menggunakan Virtualbox biasanya kita akan dibuatkan VM dengan configurasi
2CPUs2GBmemory20GBstorage- Driver
virtualbox
Nah saya mau override nilai tersebut untuk membuat clusternya dengan configurasi seperti berikut:
Jika dijalankan maka outputnya seperti berikut:
➜  ~ minikube start --memory 4g --driver virtualbox
😄  minikube v1.25.1 on Darwin 12.1
✨  Using the virtualbox driver based on user configuration
👍  Starting control plane node minikube in cluster minikube
🔥  Creating virtualbox VM (CPUs=2, Memory=4096MB, Disk=20000MB) ...
🐳  Preparing Kubernetes v1.23.1 on Docker 20.10.12 ...
    ▪ kubelet.housekeeping-interval=5m
    ▪ Generating certificates and keys ...
    ▪ Booting up control plane ...
    ▪ Configuring RBAC rules ...
    ▪ Using image gcr.io/k8s-minikube/storage-provisioner:v5
🔎  Verifying Kubernetes components...
🌟  Enabled addons: default-storageclass, storage-provisioner
🏄  Done! kubectl is now configured to use "minikube" cluster and "default" namespace by default
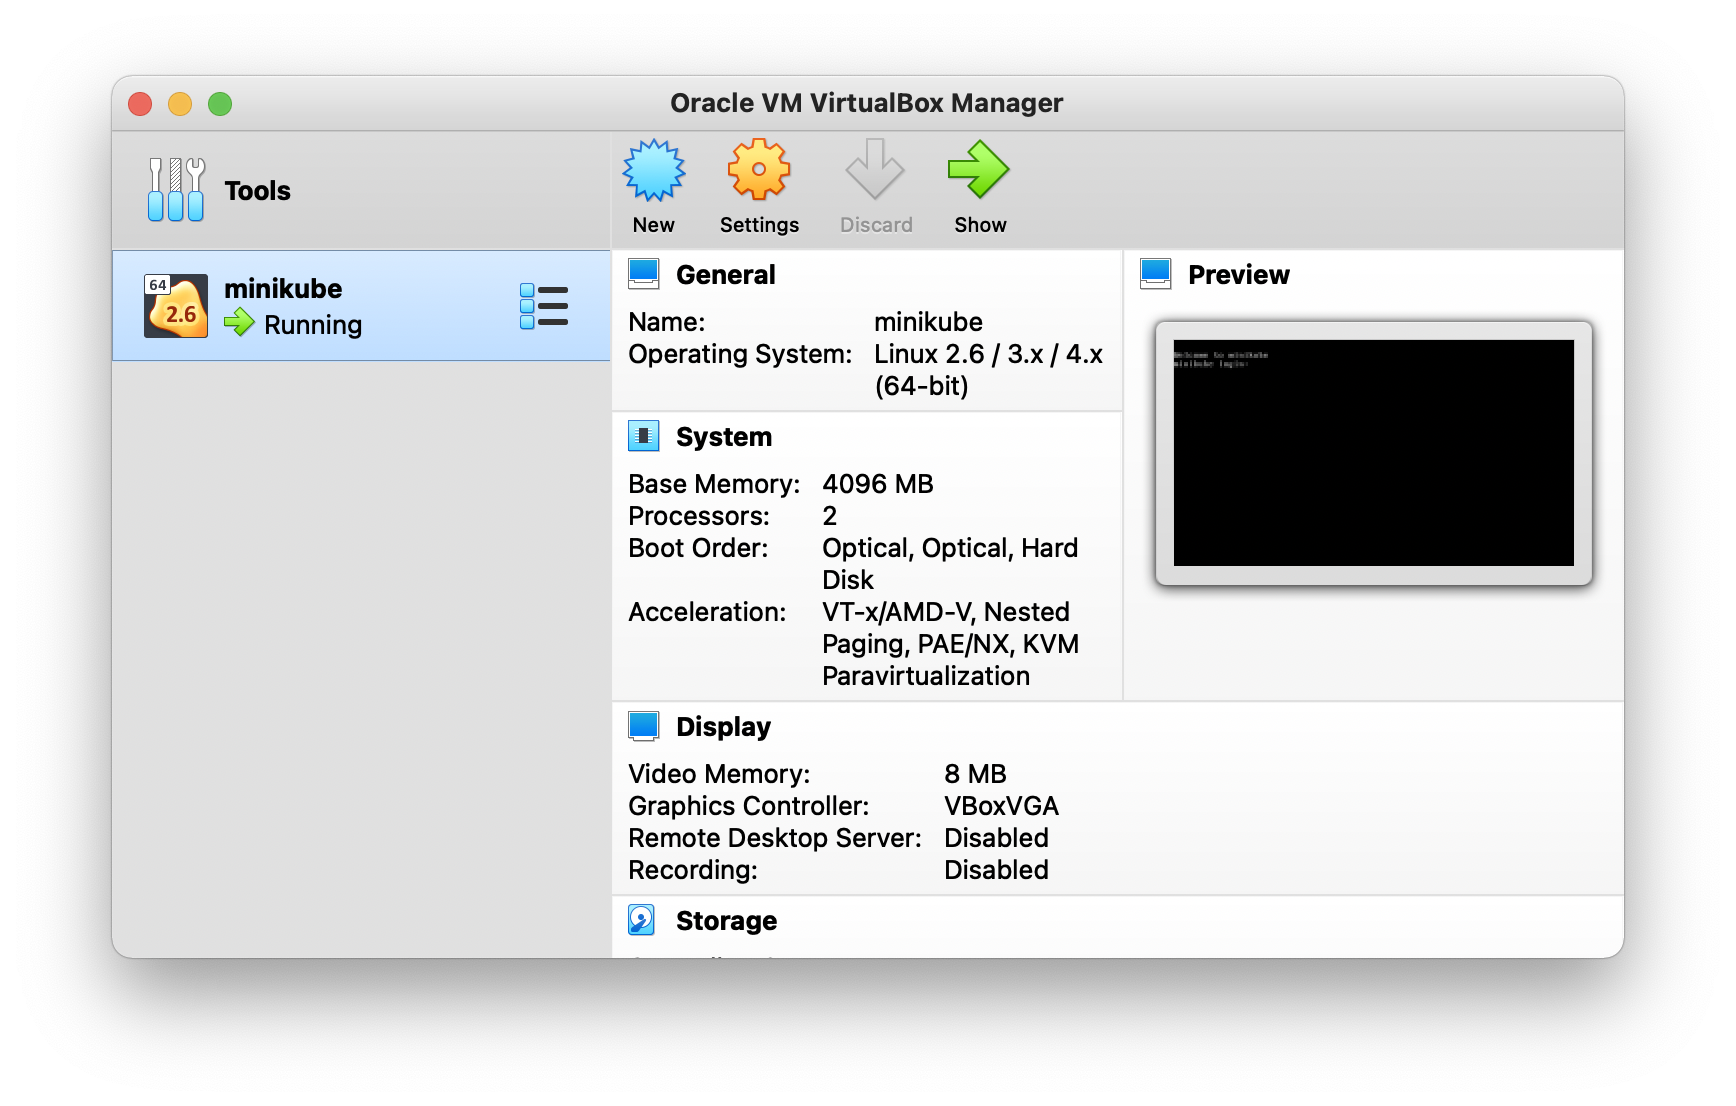
Nah sekarang jika kita lihat di virtualbox, akan jalan VM linux seperti berikut:
Dengan begitu kita sudah bisa menggunakan kubernetes clusternya, sekarang kita coba check dengan perintah seperti berikut:
Jika dijalankan maka hasilnya seperti berikut:
➜  ~ kubectl version
Client Version: version.Info{Major:"1", Minor:"23", GitVersion:"v1.23.2", GitCommit:"9d142434e3af351a628bffee3939e64c681afa4d", GitTreeState:"clean", BuildDate:"2022-01-19T17:27:51Z", GoVersion:"go1.17.6", Compiler:"gc", Platform:"darwin/amd64"}
Server Version: version.Info{Major:"1", Minor:"23", GitVersion:"v1.23.1", GitCommit:"86ec240af8cbd1b60bcc4c03c20da9b98005b92e", GitTreeState:"clean", BuildDate:"2021-12-16T11:34:54Z", GoVersion:"go1.17.5", Compiler:"gc", Platform:"linux/amd64"}

➜  ~ kubectl cluster-info
Kubernetes control plane is running at https://192.168.59.104:8443
CoreDNS is running at https://192.168.59.104:8443/api/v1/namespaces/kube-system/services/kube-dns:dns/proxy

To further debug and diagnose cluster problems, use 'kubectl cluster-info dump'.

➜  ~ kubectl get nodes
NAME       STATUS   ROLES                  AGE    VERSION
minikube   Ready    control-plane,master   4m7s   v1.23.1

➜  ~ kubectl get pods -A
NAMESPACE     NAME                               READY   STATUS    RESTARTS   AGE
kube-system   coredns-64897985d-7g8zw            1/1     Running   0          4m1s
kube-system   etcd-minikube                      1/1     Running   0          4m14s
kube-system   kube-apiserver-minikube            1/1     Running   0          4m14s
kube-system   kube-controller-manager-minikube   1/1     Running   0          4m14s
kube-system   kube-proxy-sccfb                   1/1     Running   0          4m2s
kube-system   kube-scheduler-minikube            1/1     Running   0          4m13s
kube-system   storage-provisioner                1/1     Running   0          4m12s

➜  ~ kubectl get services -A
NAMESPACE     NAME         TYPE        CLUSTER-IP   EXTERNAL-IP   PORT(S)                  AGE
default       kubernetes   ClusterIP   10.96.0.1    <none>        443/TCP                  4m27s
kube-system   kube-dns     ClusterIP   10.96.0.10   <none>        53/UDP,53/TCP,9153/TCP   4m25s
Nah sekarang kita sudah bisa menggunakan kubernetes cluster tersebut untuk belajar atau sebagai learning environment kita.
Create cluster using Docker driver
Selain menggunakan virtualbox yang hanya support dengan processor intel saja saat ini, kita juga bisa menggunakan Docker sebagai drivernya minikube. Dengan Docker driver ini jadi kita bisa gunakan untuk MacOS dengan processor Apple silicon.
Untuk membuat single cluster dengan Docker driver, syaratnya adalah
- Install docker-desktop untuk mac
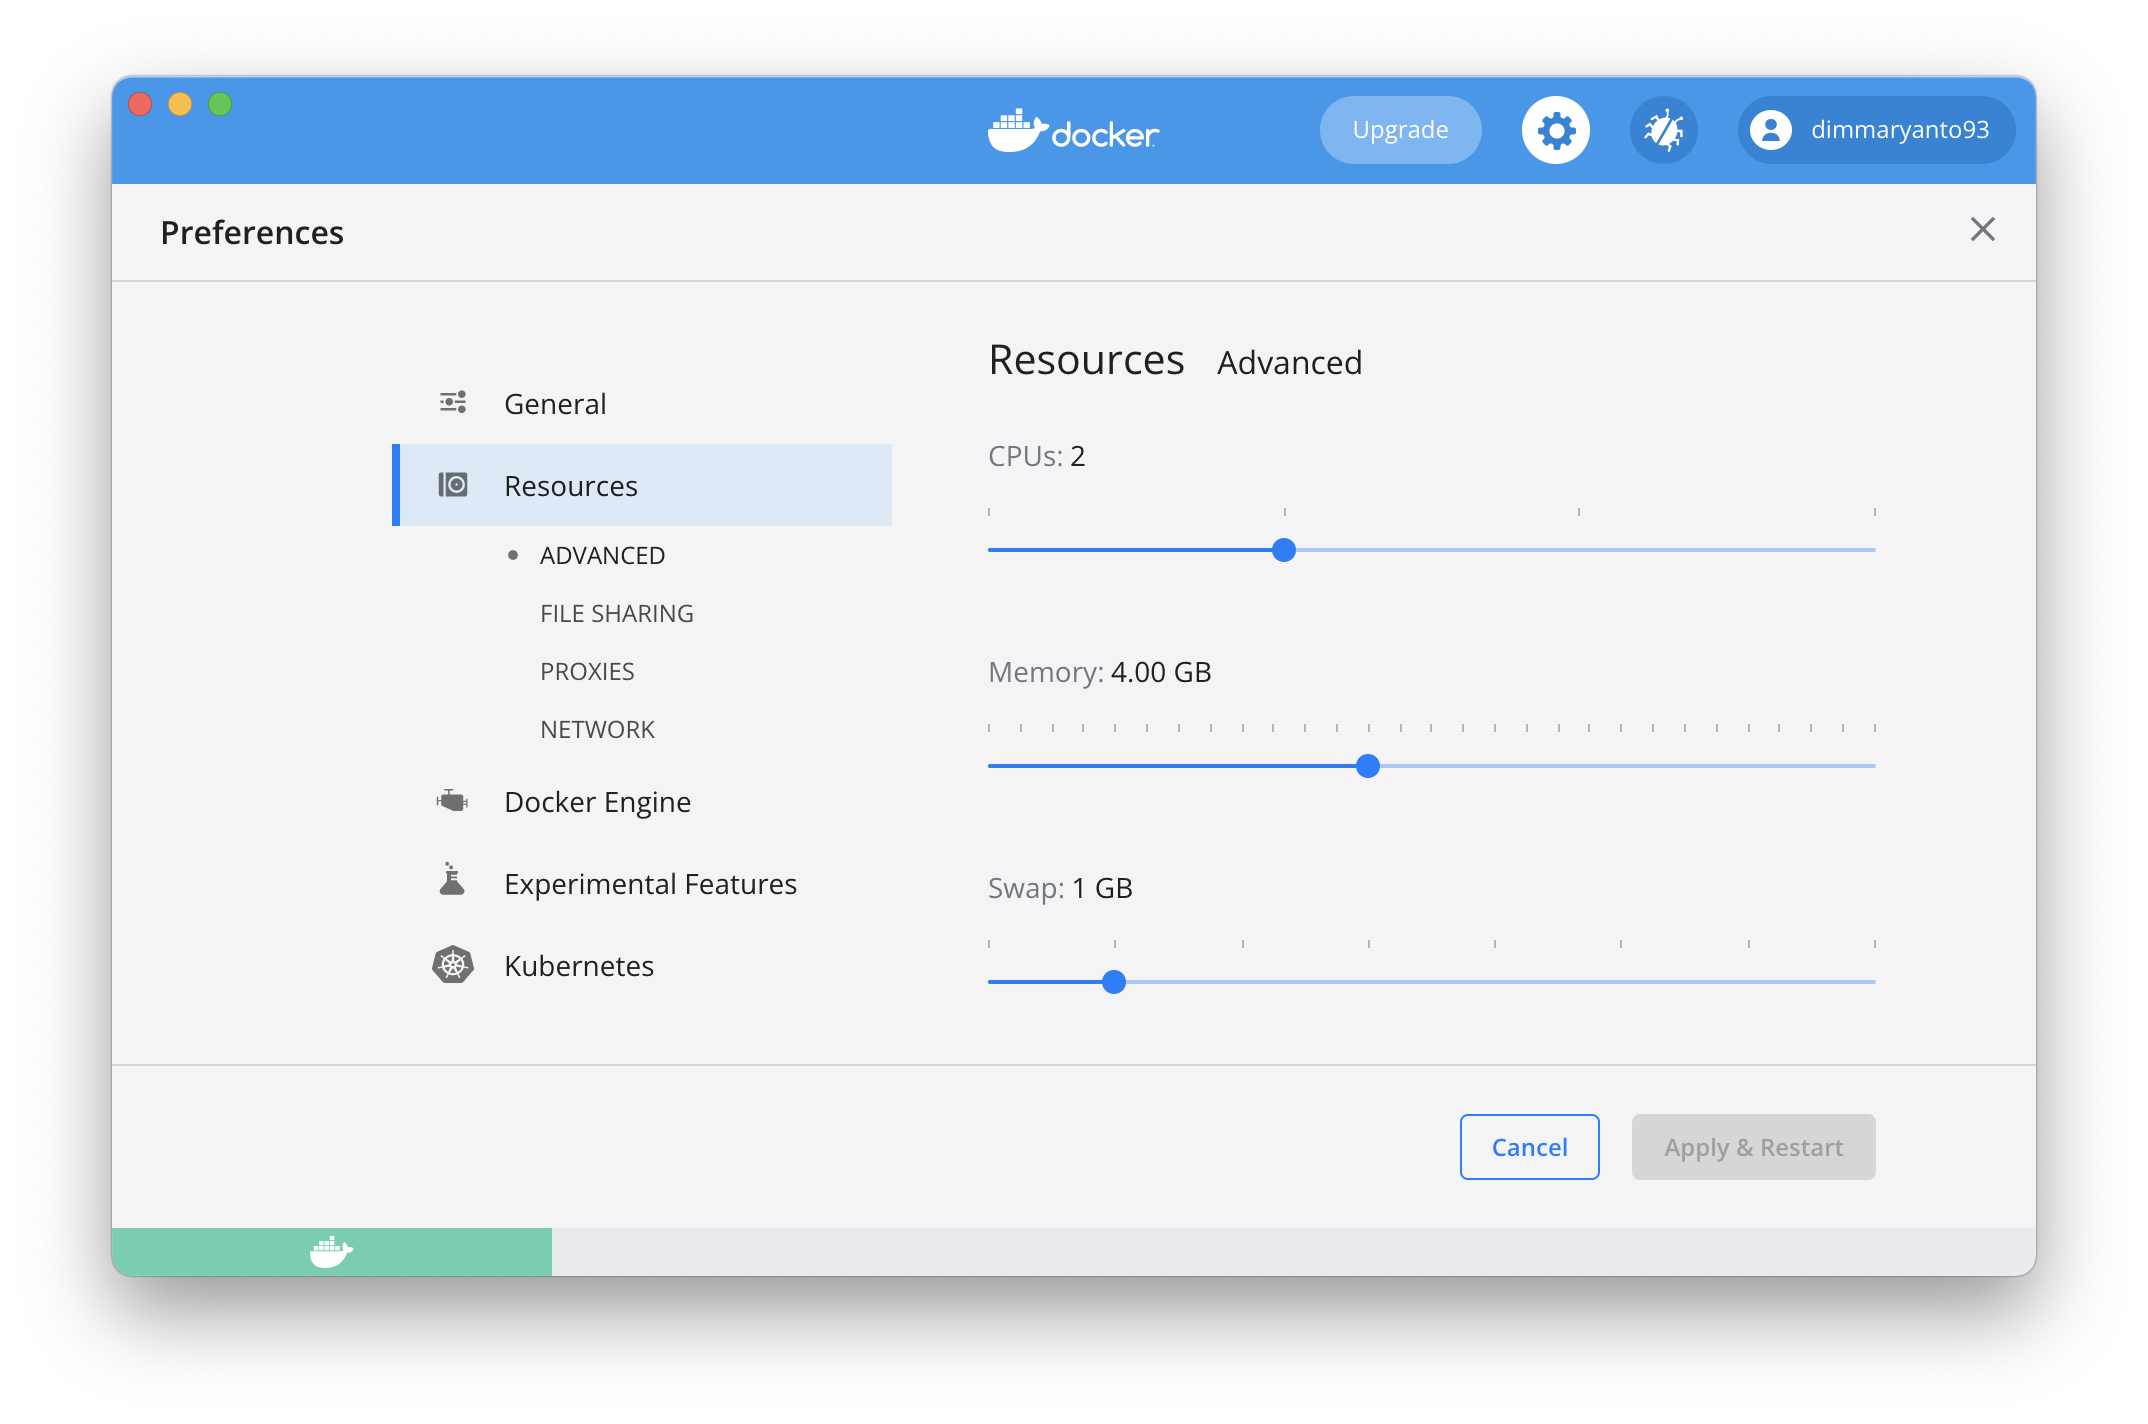
- Setting container-resources seperti increse memory, dan cpu
Untuk settingan docker-desktop disini saya menggunakan settingan seperti berikut:
Nah sekarang kita buat clusternya dengan perintah seperti berikut:
Nah jadi klo kita setting memory lebih besar dari yang kita setting di Docker Desktop biasanya akan error create cluster dengan notifikasi seperti berikut:
❌ Exiting due to MK_USAGE: Docker Desktop has only 3934MB memory but you specified 3993MB
Jika sudah success, maka hasilnya seperti berikut:
➜  ~ minikube start --driver docker --memory 3500MB
😄  minikube v1.25.1 on Darwin 12.1
✨  Using the docker driver based on user configuration
👍  Starting control plane node minikube in cluster minikube
🚜  Pulling base image ...
🔥  Creating docker container (CPUs=2, Memory=3500MB) ...
🐳  Preparing Kubernetes v1.23.1 on Docker 20.10.12 ...
    ▪ kubelet.housekeeping-interval=5m
    ▪ Generating certificates and keys ...
    ▪ Booting up control plane ...
    ▪ Configuring RBAC rules ...
🔎  Verifying Kubernetes components...
    ▪ Using image gcr.io/k8s-minikube/storage-provisioner:v5
🌟  Enabled addons: default-storageclass, storage-provisioner
🏄  Done! kubectl is now configured to use "minikube" cluster and "default" namespace by default
Nah sekarang jika kita lihat di docker list container, disinilah kubernetes engine berjalan.
➜  ~ docker container ls
CONTAINER ID   IMAGE                                 COMMAND                  CREATED         STATUS         PORTS                                                                                                                                  NAMES
5f3b6370df83   gcr.io/k8s-minikube/kicbase:v0.0.29   "/usr/local/bin/entr…"   2 minutes ago   Up 2 minutes   127.0.0.1:50585->22/tcp, 127.0.0.1:50586->2376/tcp, 127.0.0.1:50588->5000/tcp, 127.0.0.1:50589->8443/tcp, 127.0.0.1:50587->32443/tcp   minikube
Setelah itu kita bisa, menggunakan kubernetes clusternya untuk learning environtment.
Create cluster using Hyperkit driver
Selain menggunakan virtualbox yang secara performa akan memakan resource karena secara architecture menggunakan dedicated resource cpu serta memory dan juga jika temen-temen menggunakan OS Ventura jadi gak bisa jalan virtual-machinenya. Ada alternative lainnya yaitu menggunakan hyperkit
HyperKit is a toolkit for embedding hypervisor capabilities in your application. It includes a complete hypervisor, based on xhyve/bhyve, which is optimized for lightweight virtual machines and container deployment.
HyperKit currently only supports macOS using the Hypervisor.framework. It is a core component of Docker Desktop for Mac.
Untuk proses installasi Hyperkit, simple kita bisa menggunakan package manager seperti homebrew, kemudian jalankan perintah berikut:
brew install hyperkitSetelah terinstall temen-temen bisa check dengan menggunakan perintah
hyperkit -hNah sekarang kita buat clusternya dengan perintah seperti berikut:
Jika dijalankan hasilnya seperti berikut:
~ » minikube start --driver hyperkit --memory 3G --cpus 2
😄  minikube v1.29.0 on Darwin 13.2.1
✨  Using the hyperkit driver based on user configuration
👍  Starting control plane node minikube in cluster minikube
🔥  Creating hyperkit VM (CPUs=2, Memory=3072MB, Disk=20000MB) ...
❗  This VM is having trouble accessing https://registry.k8s.io
💡  To pull new external images, you may need to configure a proxy: https://minikube.sigs.k8s.io/docs/reference/networking/proxy/
📦  Preparing Kubernetes v1.26.1 on containerd 1.6.15 ...
    ▪ Generating certificates and keys ...
    ▪ Booting up control plane ...
    ▪ Configuring RBAC rules ...
🔗  Configuring bridge CNI (Container Networking Interface) ...
    ▪ Using image gcr.io/k8s-minikube/storage-provisioner:v5
🔎  Verifying Kubernetes components...
🌟  Enabled addons: storage-provisioner, default-storageclass
🏄  Done! kubectl is now configured to use "minikube" cluster and "default" namespace by default

~ » minikube status
minikube
type: Control Plane
host: Running
kubelet: Running
apiserver: Running
kubeconfig: Configured

~ » kubectl get node -o wide
NAME       STATUS   ROLES           AGE   VERSION   INTERNAL-IP     EXTERNAL-IP   OS-IMAGE               KERNEL-VERSION   CONTAINER-RUNTIME
minikube   Ready    control-plane   77s   v1.26.1   192.168.64.26   <none>        Buildroot 2021.02.12   5.10.57          containerd://1.6.15