- person Penulis:
-
 Dimas Maryanto
PT. Tabeldata Informatika
- account_balance_wallet Donasi via:
- Saweria a/n Dimas Maryanto
- lock_open Join Premium Members:
- Udemy.com
-
Daftar Materi
-
1. Pengenalan Docker 8
-
2. Docker Registry 3
-
3. Docker Container CLI 8
-
1. Docker CLI (Command Line Interface)
2. Management Docker Container
3. Management Docker Images
4. Run a command in a running container
5. Expose services to outside using ports
6. Copying files/content between container and filesystem
7. Logging, Inspect, & Resource Usage Statistics Containers
8. Run a Container using Environtment File
-
4. Docker Networks 7
-
5. Docker Volumes 5
-
6. Dockerfile 15
-
1. Build Docker Image Overview
2. Usage docker build
3. FROM Instruction
4. Environtment Replacement
5. Copying Resources
6. Excluding files/directories
7. Label Instruction
8. Execution Instruction
9. CMD vs ENTRYPOINT?
10. Exposing Ports
11. User, Volumes and Working Directory
12. Health Check Instruction
13. Multiple Stage Builds
14. Best practices for writing Dockerfiles
15. Best practices for scanning images
-
7. Study Kasus: Build docker image 14
-
1. Build specific docker image by programming languages
2. Build Docker Image for Java Webapp
3. Build Java Web using maven-docker-plugin
4. Build docker image for spring-boot
5. Springboot - using Environtment
6. Springboot - where data such as files/images we stored?
7. Springboot - Using Database
8. Build docker image for Angular Project
9. Angular - Access Rest API
10. Angular - Proxy to backend
11. Build docker image for PHP
12. Build Docker image for Laravel Framework
13. Laravel - Using Frontend & Rest API
14. Laravel - Using Database
-
8. Docker Compose 19
-
1. Overview of Docker Compose
2. Get started with Docker Compose
3. Overview of docker-compose CLI
4. Compose file specification and syntax
5. Environment variables in Compose
6. Volume in Compose
7. Share data between Containers in Compose
8. Using sshfs for share data in Compose
9. Using NFS for share data in Compose
10. Networking Overview in Compose file
11. Network links in Compose file
12. Specify custom networks in Compose file
13. Dependency between services in Compose file
14. Build docker image using Compose file
15. Using profiles with Compose file
16. Multiple Compose files to Add & Override attribute
17. Example use case of multiple compose files
18. Scale services using compose command
19. Use Compose in production
-
9. Study Kasus: Docker Compose 7
-
10. Docker Context 8
-
11. Study Kasus: Docker for CI 8
-
1. Overview of Study Cases using docker for CI
2. Setup environment for CI using Gitlab & Nexus OSS
3. The `.gitlab-ci.yml` file
4. Pipeline: PHP deployment using Gitlab CI
5. Pipeline: Java Web deployment using Gitlab CI
6. Pipeline: spring-boot deploy with Gitlab CI
7. Pipeline: Angular deploy with Gitlab CI
8. Pipeline: Laravel deploy with Gitlab CI
-
12. Docker Machine 7
-
13. Study Kasus: Ansible for Docker 4
-
14. Docker Swarm
- Materi: belum tersedia...
-
15. Study Kasus: Docker Swarm
- Materi: belum tersedia...
-
16. Docker on Cloud using GCP
- Materi: belum tersedia...
- Lastest Posts
-
 09 Apr 23
Working with Deployment object
-
 26 Feb 23
Study cases: Microservice apps (...
-
 05 Feb 23
Welcome to the Nutanix HCF (Hybr...
-
 04 Feb 23
Silabus SRE - Nutanix AHV: Pemul...
-
 17 Jan 23
What is Workload Resources?
-
 17 Jan 23
Overview Kubernetes Workloads re...
-
 15 Jan 23
Getting started with Transaction...
-
 14 Jan 23
Overview of Concurrency Control
-
 14 Jan 23
Time your practice (part 3)
-
 08 Jan 23
Cleanup Data from Table
How to install Docker on Windows 10 with WSL
Hai semuanya di materi kali ini kita akan meng-install Docker di platform Windows, ada beberapa step
- Install & Configure Backend for Docker Engine
- Install Docker Desktop
- Setup Development Env
Backend for Docker Engine
Untuk menggunakan docker di Windows kita perlu menggunakan virtualization, ada beberapa cara yaitu
- Hyper-V (required Windows 10 Enterprise, Pro, or Education)
- WSL
Nah karena untuk yang Hyper-V membutuhkan Windows 10 versi mahal, jadi kita pake WSL saja ya. selain alasan tersebut juga klo menggunakan Hyper-V beberapa aplikasi Virtualization lainnya seperti VirtualBox, VmWware jadi gak bisa di jalanin. maka dari itu Docker rekomendasikan menggunakan WSL
Enabled WSL
Sebelum kita menginstall Docker, kita siapkan dulu Windows Subsystem for Linux menggunakan wsl dengan menggunakan PowerShell yang di jalankan dengan Adminsitration permision, kemudian jalankan perintah berikut:
Setelah itu kita aktifkan virtualizationnya, dengan perintah berikut dan sesuaikan dengan Windows build teman2
Setelah itu saya mau set, wsl menjadi v2 karena ada beberapa feature yang dibutuhkan oleh Docker
Jika di jalankan, hasilnya seperti berikut:
Windows PowerShell
Copyright (C) Microsoft Corporation. All rights reserved.

Try the new cross-platform PowerShell https://aka.ms/pscore6

PS C:\Windows\system32> dism.exe /online /enable-feature /featurename:Microsoft-Windows-Subsystem-Linux /all /norestart

Deployment Image Servicing and Management tool
Version: 10.0.19041.844

Image Version: 10.0.19042.867

Enabling feature(s)
[==========================100.0%==========================]
The operation completed successfully.


PS C:\Windows\system32> dism.exe /online /enable-feature /featurename:VirtualMachinePlatform /all /norestart

Deployment Image Servicing and Management tool
Version: 10.0.19041.844

Image Version: 10.0.19042.867

Enabling feature(s)
[==========================100.0%==========================]
The operation completed successfully.

PS C:\Windows\system32> wsl --set-default-version 2
For information on key differences with WSL 2 please visit https://aka.ms/wsl2

PS C:\Windows\system32> wsl -l
Windows Subsystem for Linux has no installed distributions.
Distributions can be installed by visiting the Microsoft Store:
https://aka.ms/wslstore

PS C:\Windows\system32>
Jika temen-temen mengalami error seperti wsl not found, silahkan restart dulu kemudian jalankan kembali
Install Docker Desktop
Setelah kita mengaktifikan virtualization / Windows Subsystem for Linux, kita bisa install Docker Desktop, kita download dulu dari websitenya
Kemudian kita install, maka akan muncul dialog seperti berikut:
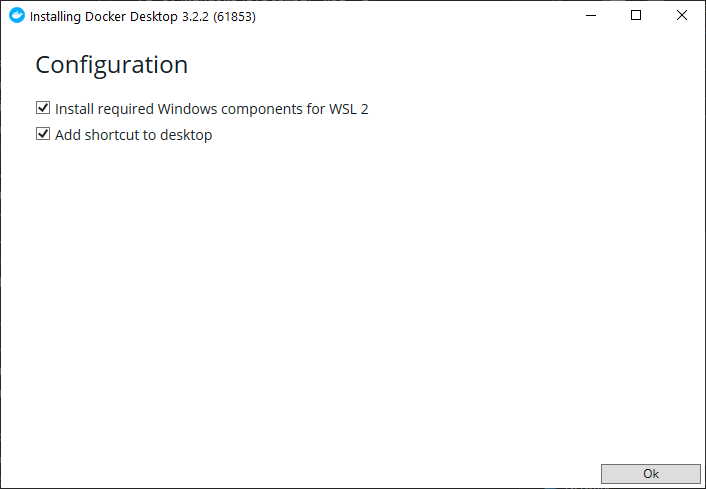
Kemudian klick OK, selanjutnya installing dimulai
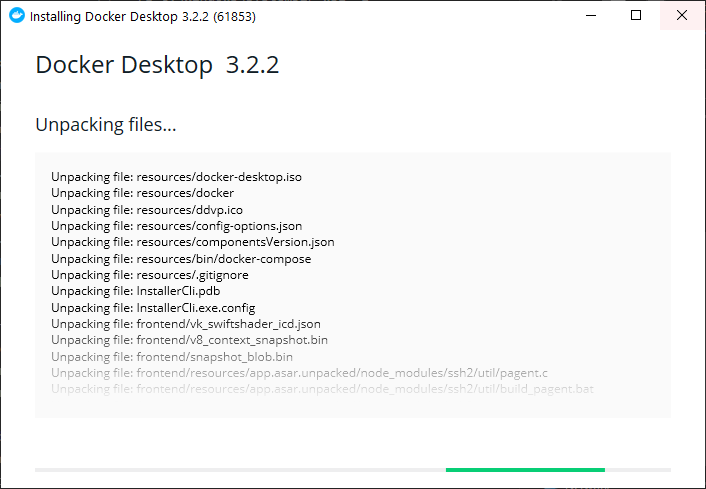
Jika telah selesai, maka akan tampil seperti berikut:
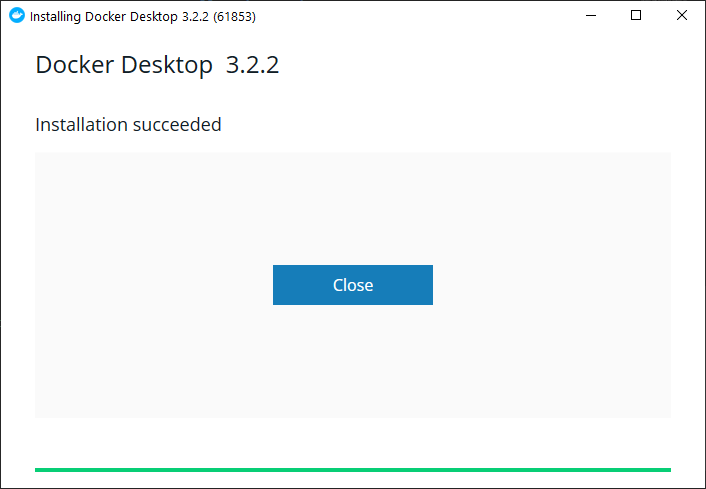
Kemudian Close dan buka aplikasi Docker Desktop, nanti akan muncul tampilan dashboard seperti berikut:
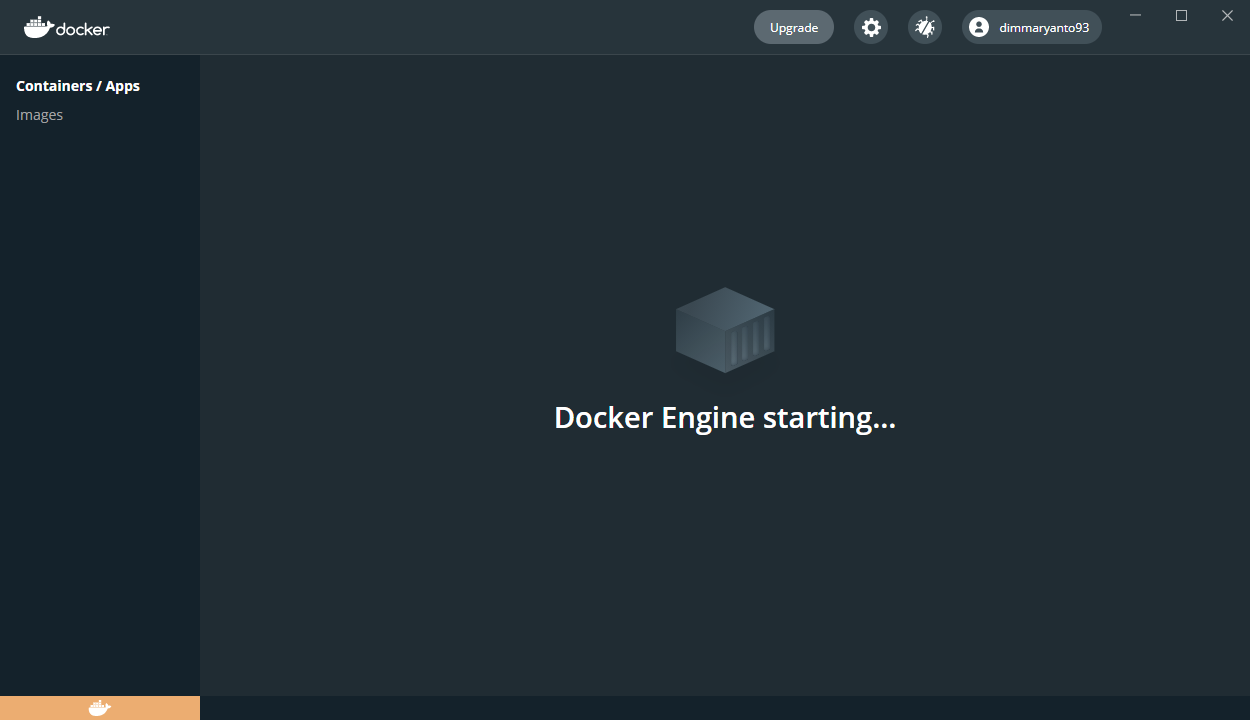
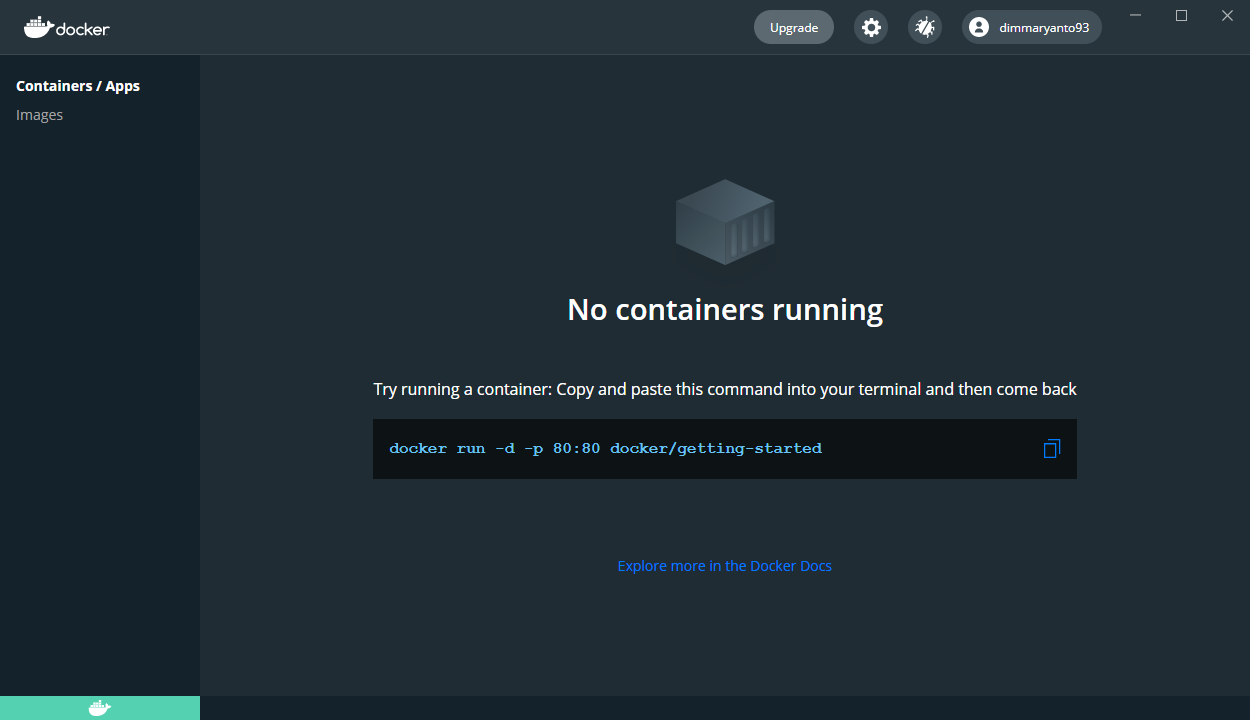
Kemudian tunggu sampai, logo docker di bawah berwarna hijau seperti berikut:
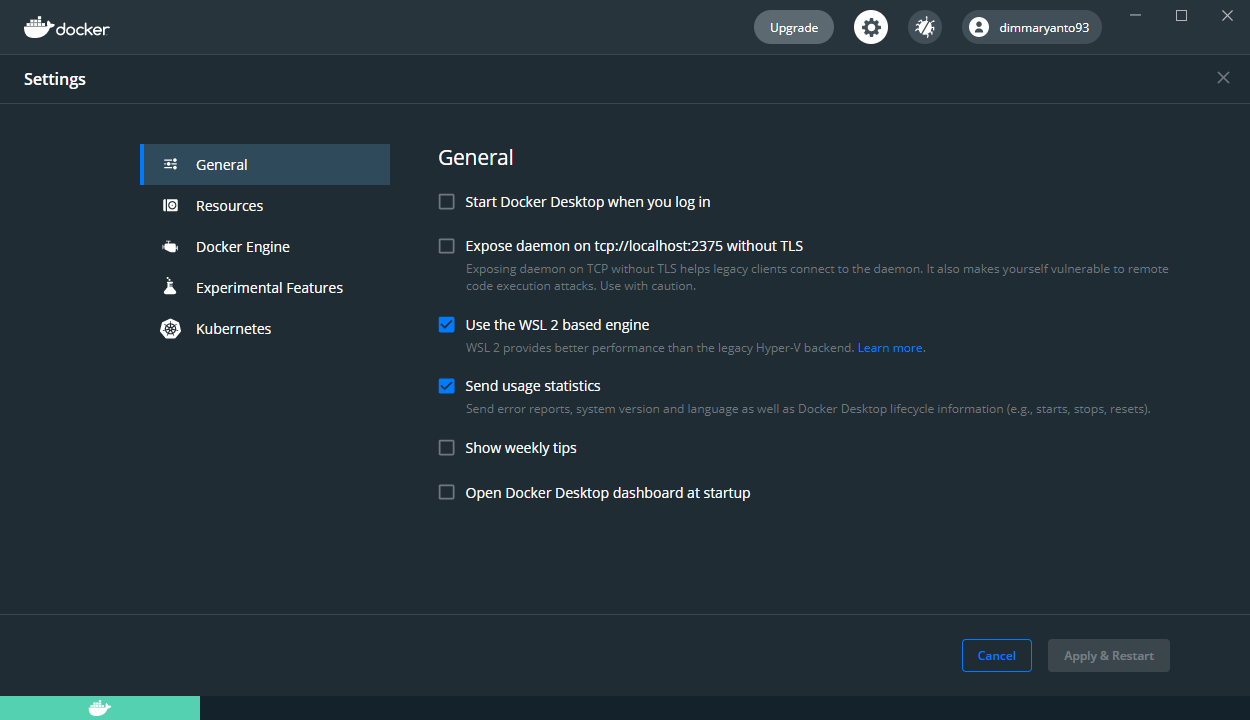
Untuk settingan-nya, saya biasanya dibuat manual startup seperti berikut:
-
General Settings
-
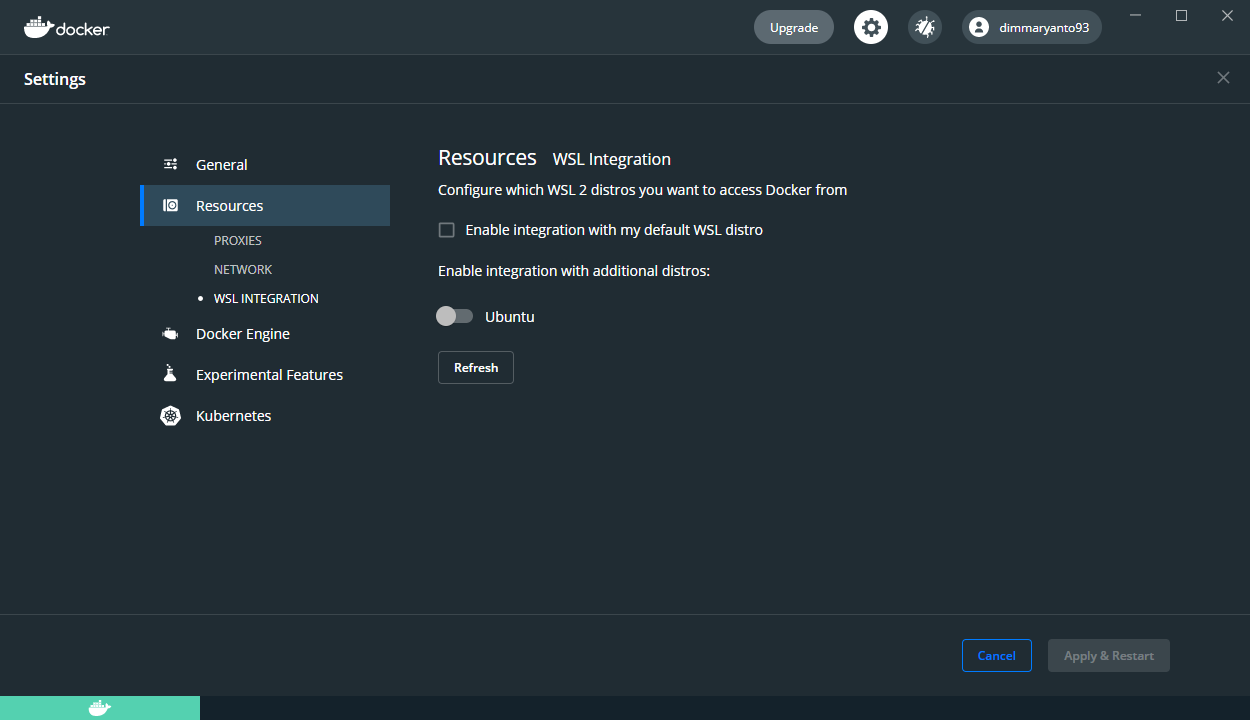
WSL Integration
-
Docker Engine Config
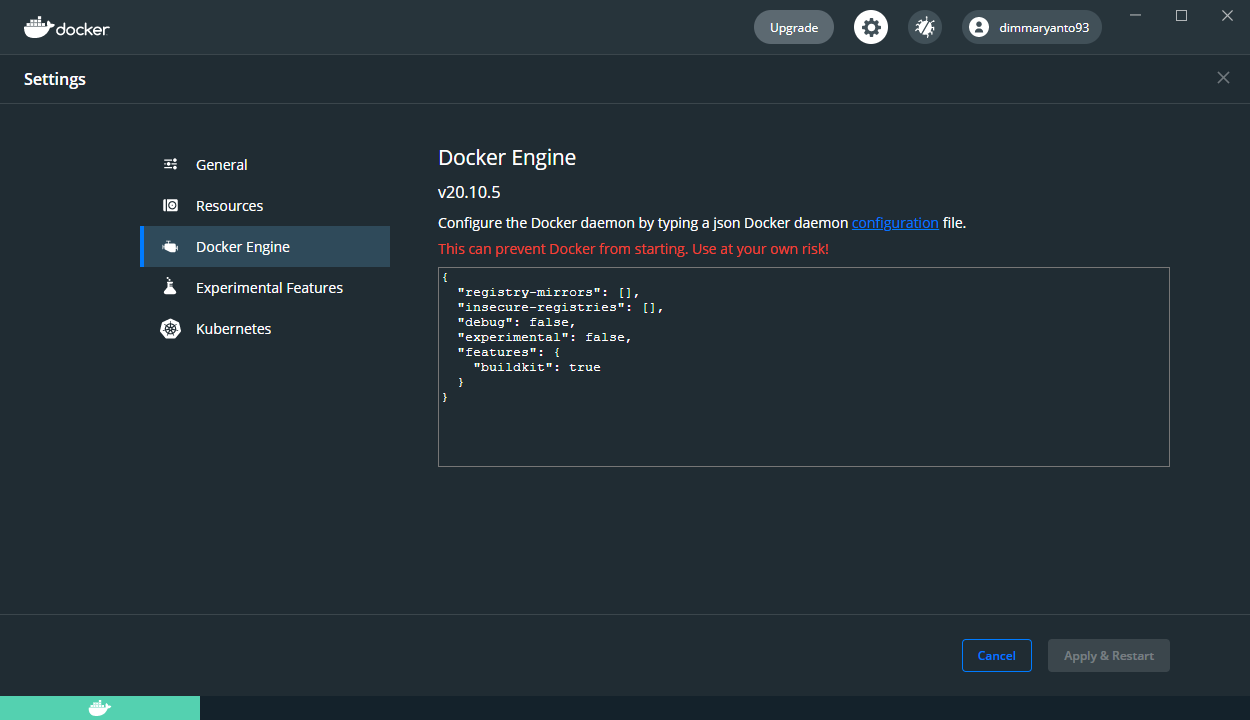
Configure Resources
Jika temen-temen lihat di Task Manager kadang ada proses seperti vmmem menggunakan memory yang sangat besar, kita bisa limit resourcenya dengan membuat config .wslconfig yang di simpan di User Home seperti berikut:
Karena disini saya pake prosessor 8 core dan RAM 32 GB, saya masih cukup sih tpi saya mau limit aja prosesnya jadi 4 core dan 4 GB RAM khusus untuk Windows Subsystem for Linuxnya a.k.a WSL
Testing
Sekarang coba buka PowerShell sebagai user biasa, kemudian jalankan perintah berikut:
Hasilnya seperti berikut:
Windows PowerShell
Copyright (C) Microsoft Corporation. All rights reserved.

Try the new cross-platform PowerShell https://aka.ms/pscore6

PS C:\Users\dimasm93> docker info
Client:
 Context:    default
 Debug Mode: false
 Plugins:
  app: Docker App (Docker Inc., v0.9.1-beta3)
  buildx: Build with BuildKit (Docker Inc., v0.5.1-docker)
  scan: Docker Scan (Docker Inc., v0.5.0)

Server:
 Containers: 0
  Running: 0
  Paused: 0
  Stopped: 0
 Images: 0
 Server Version: 20.10.5
 Storage Driver: overlay2
  Backing Filesystem: extfs
  Supports d_type: true
  Native Overlay Diff: true
 Logging Driver: json-file
 Cgroup Driver: cgroupfs
 Cgroup Version: 1
 Plugins:
  Volume: local
  Network: bridge host ipvlan macvlan null overlay
  Log: awslogs fluentd gcplogs gelf journald json-file local logentries splunk syslog
 Swarm: inactive
 Runtimes: io.containerd.runc.v2 io.containerd.runtime.v1.linux runc
 Default Runtime: runc
 Init Binary: docker-init
 containerd version: 269548fa27e0089a8b8278fc4fc781d7f65a939b
 runc version: ff819c7e9184c13b7c2607fe6c30ae19403a7aff
 init version: de40ad0
 Security Options:
  seccomp
   Profile: default
 Kernel Version: 4.19.128-microsoft-standard
 Operating System: Docker Desktop
 OSType: linux
 Architecture: x86_64
 CPUs: 4
 Total Memory: 3.842GiB
 Name: docker-desktop
 ID: 5RI6:EEMB:7S5I:U27G:NMR7:TSAR:C3P6:KCOA:6BGL:I2DZ:OJFC:4TX7
 Docker Root Dir: /var/lib/docker
 Debug Mode: false
 Registry: https://index.docker.io/v1/
 Labels:
 Experimental: false
 Insecure Registries:
  127.0.0.0/8
 Live Restore Enabled: false
Setup development env
Untuk belajar docker kita bisa menggunakan cmd.exe atau powershell.exe tapi disini saya mau menggunakan Windows Terminal yang bisa di install melalui Microsoft Store.
Dengan default settings seperti berikut:
Dengan setting di atas, saya menggunakan PowerShell sebagai default command line dalam belajar docker. Selain itu juga kita bisa pasang plugin seperti:
Sebelum kita install, kita perlu aktifkan dulu developer mode dan execute any command from powershell seperti berikut:
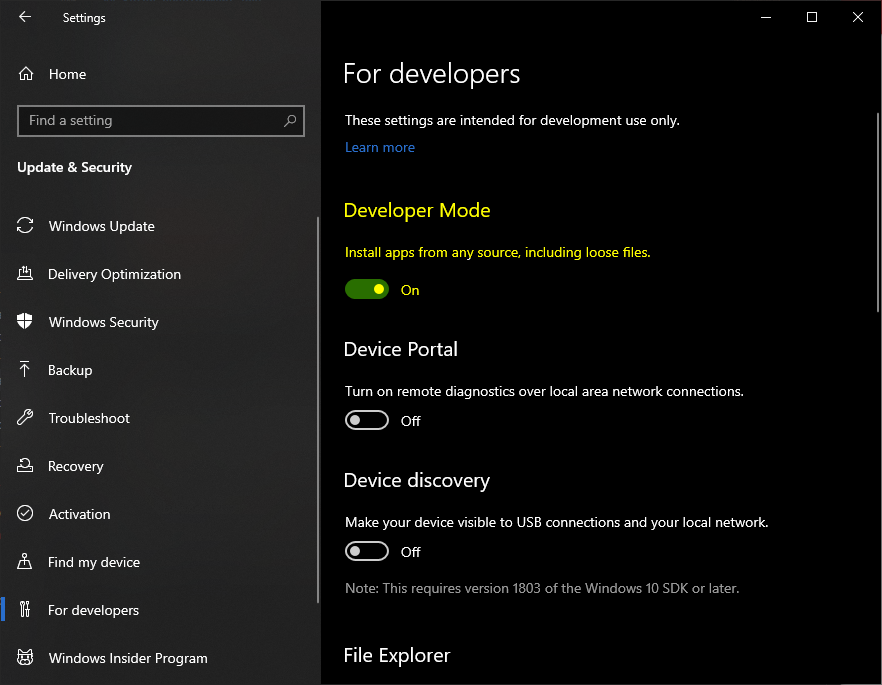
dan
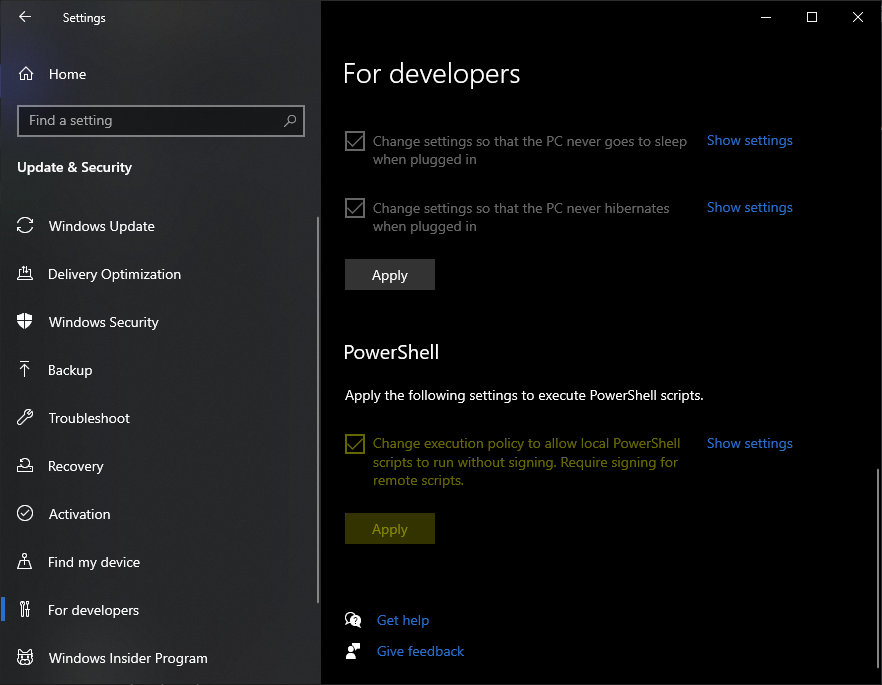
Buka Powershell as Adminstrator, jalankan perintah berikut:
Kemudian restart, setelah restart buka kembali Powershell as normal user, kita akan memasang plugin tersebut dengan perintah seperti berikut:
Setelah itu kita include ke profile dengan menjalankan perintah notepad $profile kemudian masukan script berikut ke notepad:
Maka hasilnya seperti berikut:
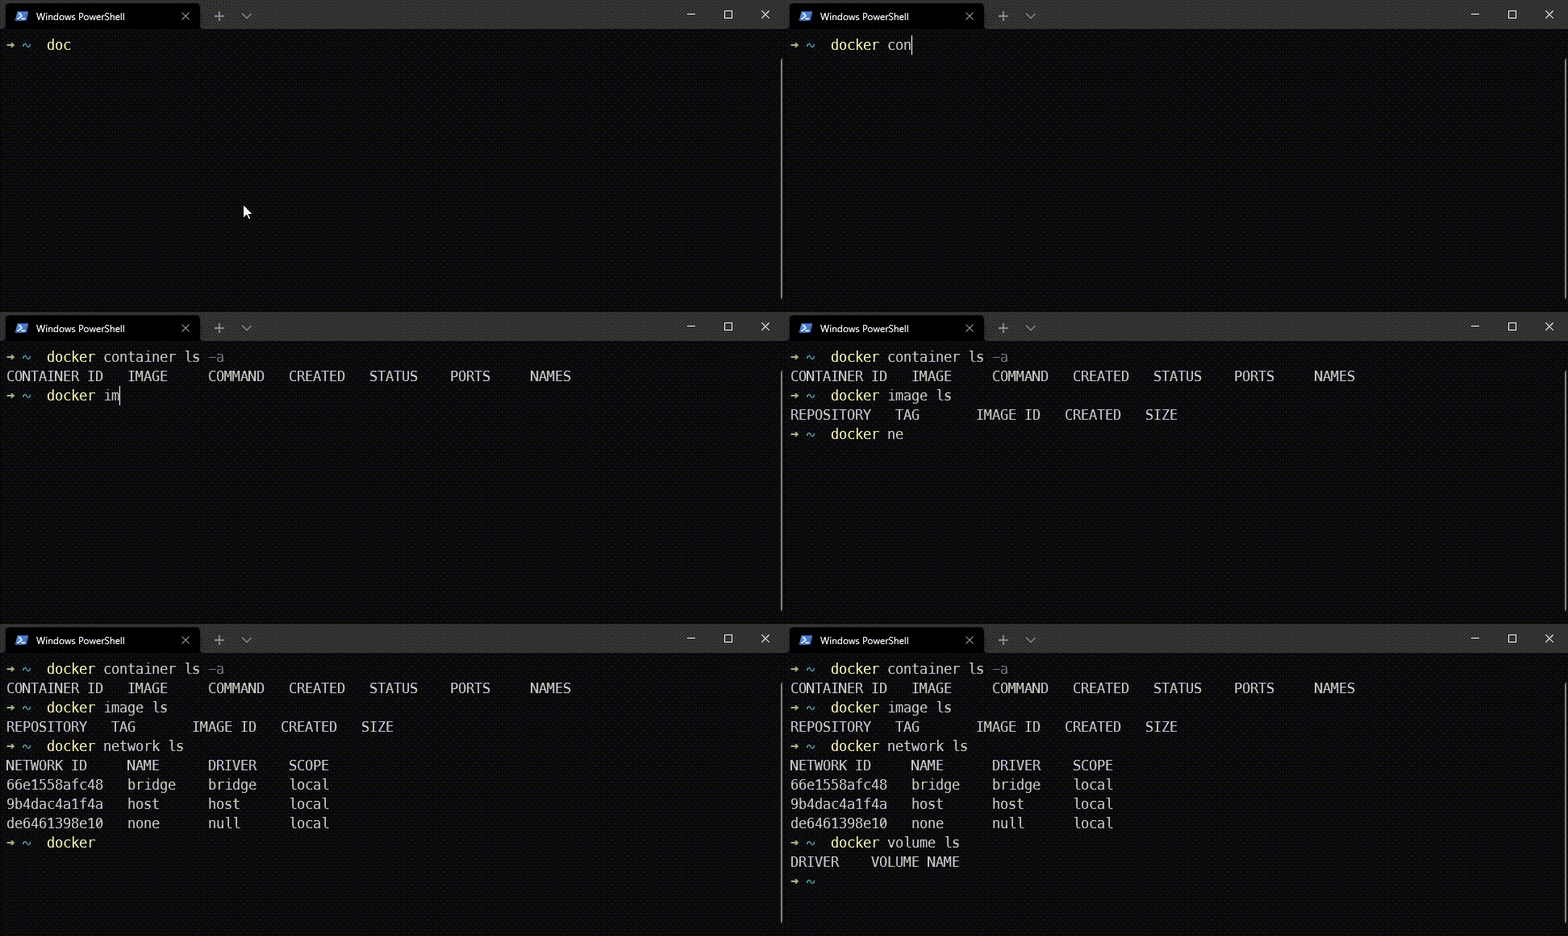
Yuk simak juga videonya,
Dan jika temen-temen belajar hal baru kali ini jangan lupa buat Like, Subcribe, dan Share ke temen kalian. Terimakasih!!!

