


Using docker on portainer.io
Hai semuanya, di materi kali ini kita akan membahas tentang dashboard di lingkungan server yang paling sering digunakan adalah linux dan paling juga sifatnya web based. Ada banyak sekali dashboard untuk docker yaitu
- portainer.io
- DataDog
- Big Boat (deprecated)
- dan masih banyak lagi.
Nah sekarang kita bahas menggunakan yang paling populer ya yaitu portainer.io. Diantaranya yang akan kita bahas:
- Introduction
- Install Portainer with Docker on Linux
- Deploy a container
- Deploy a stack
- Managing images
- Managing networks
- Managing volumes
Ok langsung aja kita ke pembahas yang pertama
Introduction
Portainer Community Edition (CE) is our foundation. With over half a million regular users, CE is a powerful, open source toolset that allows you to easily build and manage containers in Docker, Docker Swarm, Kubernetes and Azure ACI.
Portainer hides the complexity of managing containers behind an easy-to-use UI. By removing the need to use the CLI, write YAML or understand manifests, Portainer makes deploying apps and troubleshooting problems so easy that anyone can do it.
Portainer architecture
Portainer consists of two elements: the Portainer Server and the Portainer Agent. Both run as lightweight containers on your existing containerized infrastructure. The Portainer Agent should be deployed to each node in your cluster and configured to report back to the Portainer Server container.
How to install Portainer on Linux with Docker
Untuk meng-install Portainer ada beberapa Requirement & Prerequistes yaitu:
- Persistent storage, The Portainer Server requires persistent storage in order to maintain the database and configuration information it needs to function.
- Ports, In order to access the UI and API, and for the Portainer Server instance and the Portainer Agents to communicate, certain ports need to be accessible.
- The latest version of Docker installed and working
- sudo access on the machine that will host your Portainer Server instance
- By default, Portainer Server will expose the UI over port
9443and expose a TCP tunnel server over port8000. - SELinux is disabled on the machine running Docker. If you require SELinux, you will need to pass the
--privilegedflag to Docker when deploying Portainer.
Ok sekarang kita bisa langsung install, untuk memudahkan kita bisa menggunakan docker-compose.yaml seperti berikut:
Jika di jalankan seperti berikut:
➜ docker git:(master) docker-compose --project-directory 09-docker-context/portainer up -d portainerd
Creating network "portainer_default" with the default driver
Creating volume "portainer_portainer_data" with default driver
Pulling portainerd (portainer/portainer-ce:latest)...
latest: Pulling from portainer/portainer-ce
7721cab3d696: Pull complete
0645e7e2a110: Pull complete
8f36f6c7596b: Pull complete
Digest: sha256:af387baba14e0342e40d274c0c894fd333d3cca0d6737a8e1e0d6d9523c87a8a
Status: Downloaded newer image for portainer/portainer-ce:latest
Creating portainer_portainerd_1 ... done

➜ docker git:(master) docker-compose --project-directory 09-docker-context/portainer ps
         Name             Command     State                     Ports
----------------------------------------------------------------------------------------
portainer_portainerd_1   /portainer   Up      8000/tcp, 9000/tcp, 0.0.0.0:9443->9443/tcp
Sekarang kita buka menggunakan browser untuk inital setup dengan meng-akses halaman https://ip-server:9443 Seperti berikut:
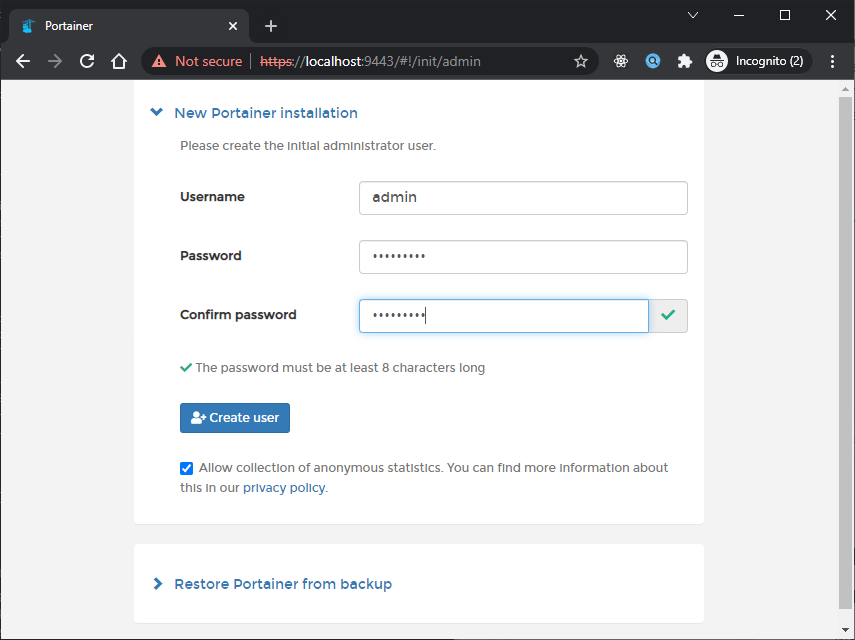
Setelah itu kita bisa klik button create, untuk membuat user dan masuk ke halaman home seperti berikut:
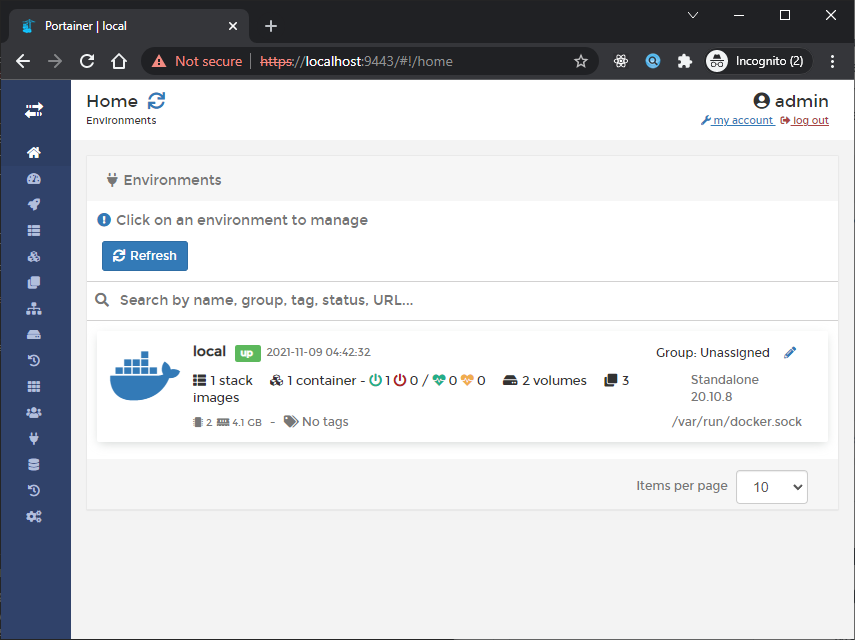
The Home page is the first page you will see after logging into Portainer. This page provides an overview of your environments along with vital statistics about each. To manage an environment, click to select it
Deploy a container
Put simply, a container is a runnable instance of an image. Containers do not hold any persistent data and therefore can be destroyed and recreated as needed.
To deploy new container, Select Containers from the menu then click Add container.
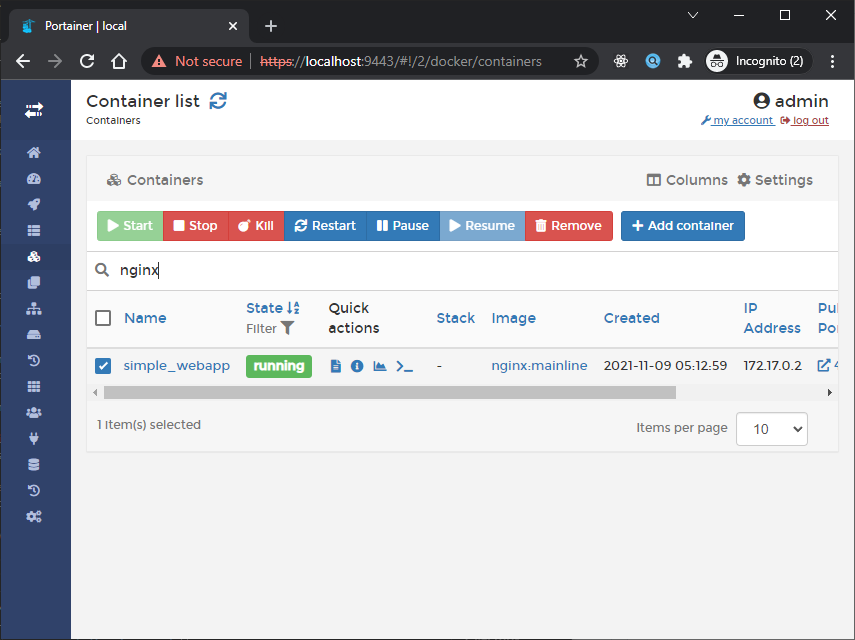
Sebagai contoh disini kita akan jalankan image nginx:mainline dan portbinding random, jadi configurasinya seperti berikut:

Kemudian klik Deploy the container, jika sudah maka hasilnya seperti berikut:
Sekarang kita bisa check hasilnya dengan klik Published ports seperti berikut hasilnya:
Dari menu tersebut juga kita bisa melakukan management terhadap containernya seperti
- View logs
- View Inspect
- View Stats
- Exec into container
- Start/Stop container
- Kill container
- Restart container
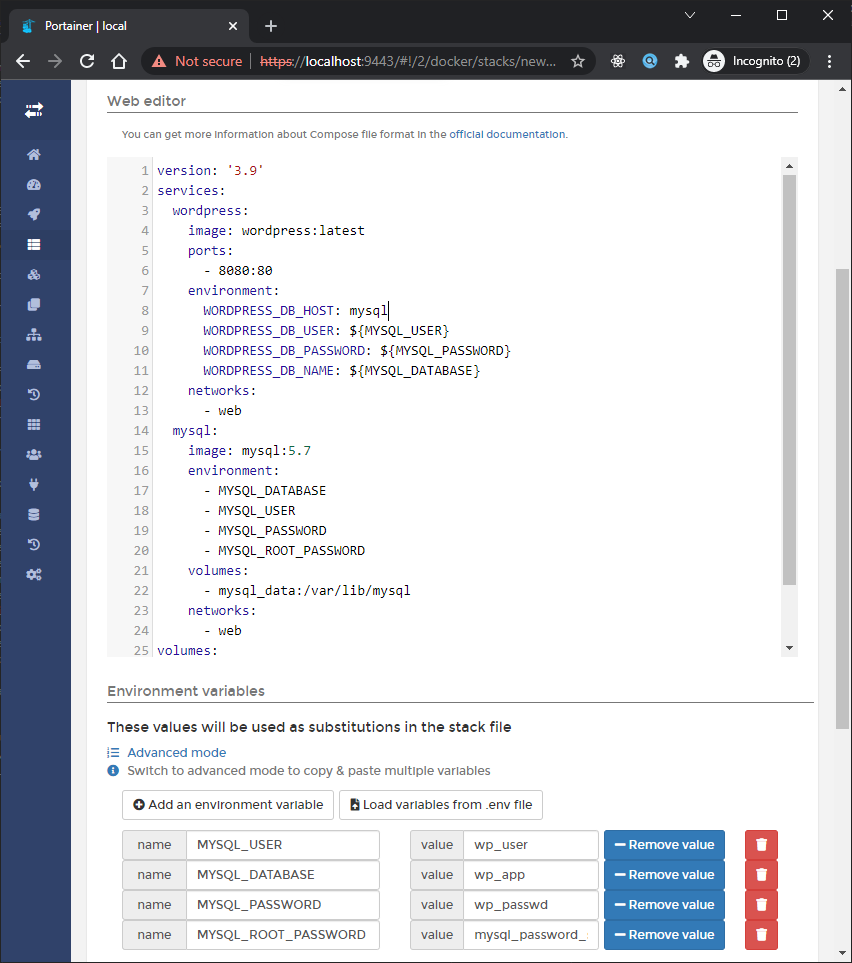
Deploy a stack
A stack is a collection of services (docker-compose), usually related to one application or usage. For example, a WordPress stack definition may include a web server container (such as nginx) and a database container (such as MySQL).
Ada beberapa cara untuk deploy stack
- Web editor, Use our web editor to define the services for the stack using a docker-compose format.
- Upload file, If you have a
docker-compose.ymlfile, you can upload it from your computer and use it to deploy the stack. - Git Repository, You can use a docker-compose format file hosted in a Git repository.
- Custome template
Tools yang paling sering saya gunakan adalah Upload file dan Git Repository. Jadi source-code dari compose filenya saya bisa versioning atau reused.
Contohnya kita bisa gunakan docker-compose.yaml seperti berikut misalnya:
Jadi kita masukan ke web-editor atau upload filenya seperti berikut:
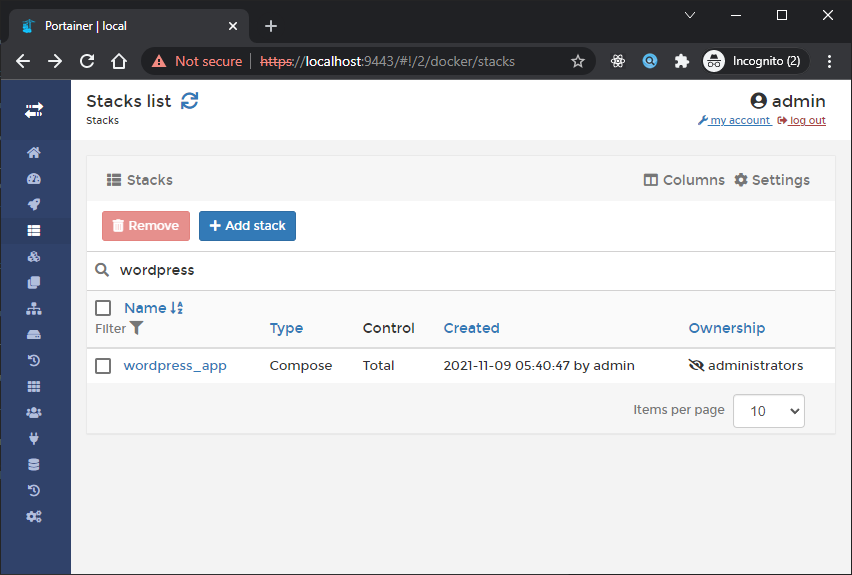
Jika sudah terdeploy maka hasilnya seperti berikut:
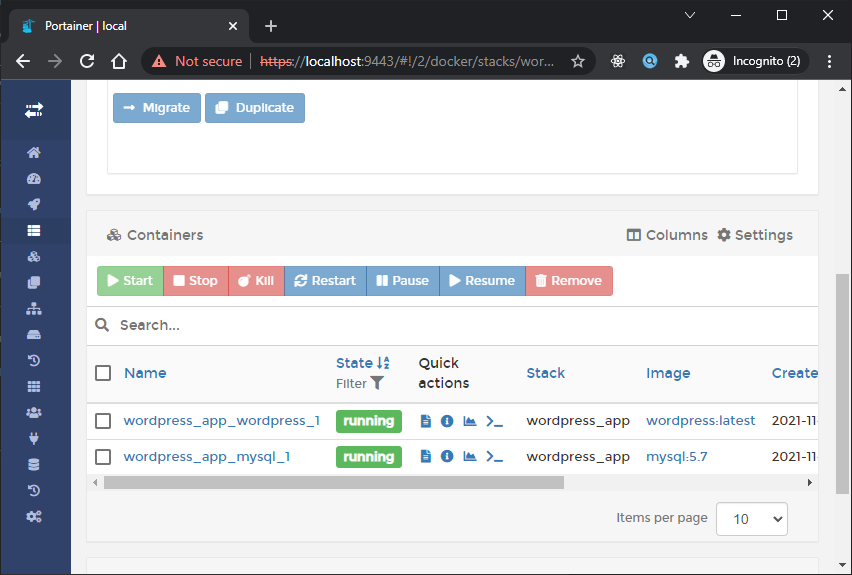
Jika kita Klik detail wordpress_app kita akan melihat list containers yang jalan seperti berikut:
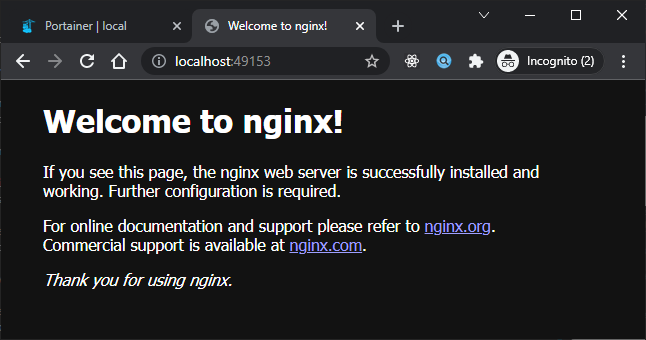
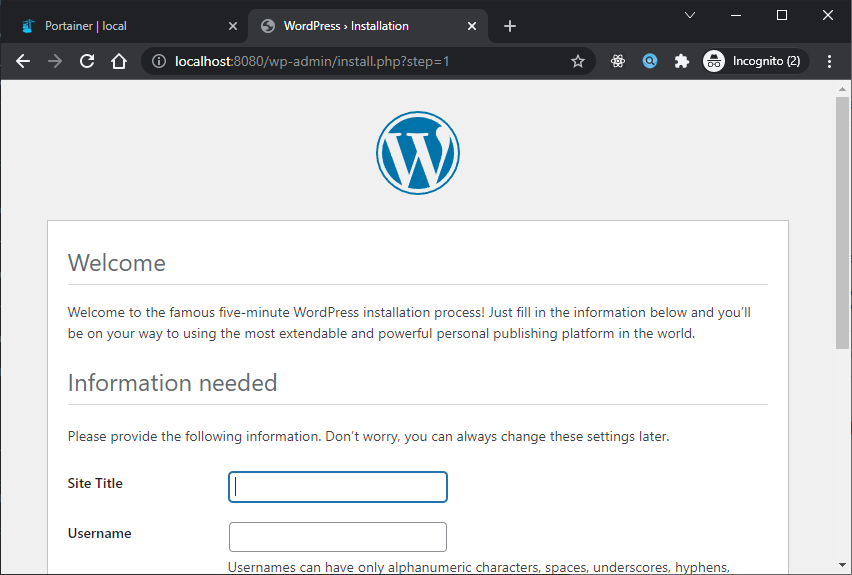
Sekarang jika kita click Publish ports pada container worpress_app_wordpress_1 maka hasilnya seperti berikut:
Managing images
Images are what is used to build containers. Each image defines the pieces required to build and configure a container and can be reused many times. The Images section in Portainer lets you interact with the images in an environment.
- Pull an image, You can pull images from Docker Hub or any other registry
- Default registry: Docker Hub
- Add new insecure-registry
- Build a new image
- Import an image
- Export an image
Managing networks
Portainer lets you add, remove and manage networks in your environment.
- Add a new network
- Remove a network
Managing volumes
A volume is a data storage area that can be mounted into a container to provide persistent storage. Unlike bind mounts, volumes are independent of the underlying OS and are fully managed by the Docker Engine.
- Add a new volume
- Remove a volume
Yuk simak juga videonya,
Dan jika temen-temen belajar hal baru kali ini jangan lupa buat Like, Subcribe, dan Share ke temen kalian. Terimakasih!!!